
There’s a secret about baking bread: it’s not that hard. It’s related to a secret about recipes: a recipe isn’t the only way to make a thing, it is *one* way to make the thing. You can bend a bread recipe pretty far and still get bread. I tend to look at any recipe more as a starting point than a set of firm rules. (This recipe started with all white flour, no chia, and more salt.)
Here’s how to make bread:
Mix flour and water with a pinch of salt and a pinch of yeast. Let rise. Optionally, knead down and let rise again, one or more times. Bake. Preferably, water should be warm, but not boiling (boiling water will kill the yeast). Use enough flour not to be soupy, enough water so everything sticks together. I found some ratios online that claim bread is usually 5:3 flour to water, this recipe is closer to 2:1.
My (current) favorite bread recipe:
Ingredients:
2/3 C Wheat Flour
2/3 C Bread Flour
2/3 C Almond Flour
1 C Unbleached White Flour
2 T Ground Chia seed
¼ t yeast
1/8 t salt
1 ½ C warm water (not boiling)
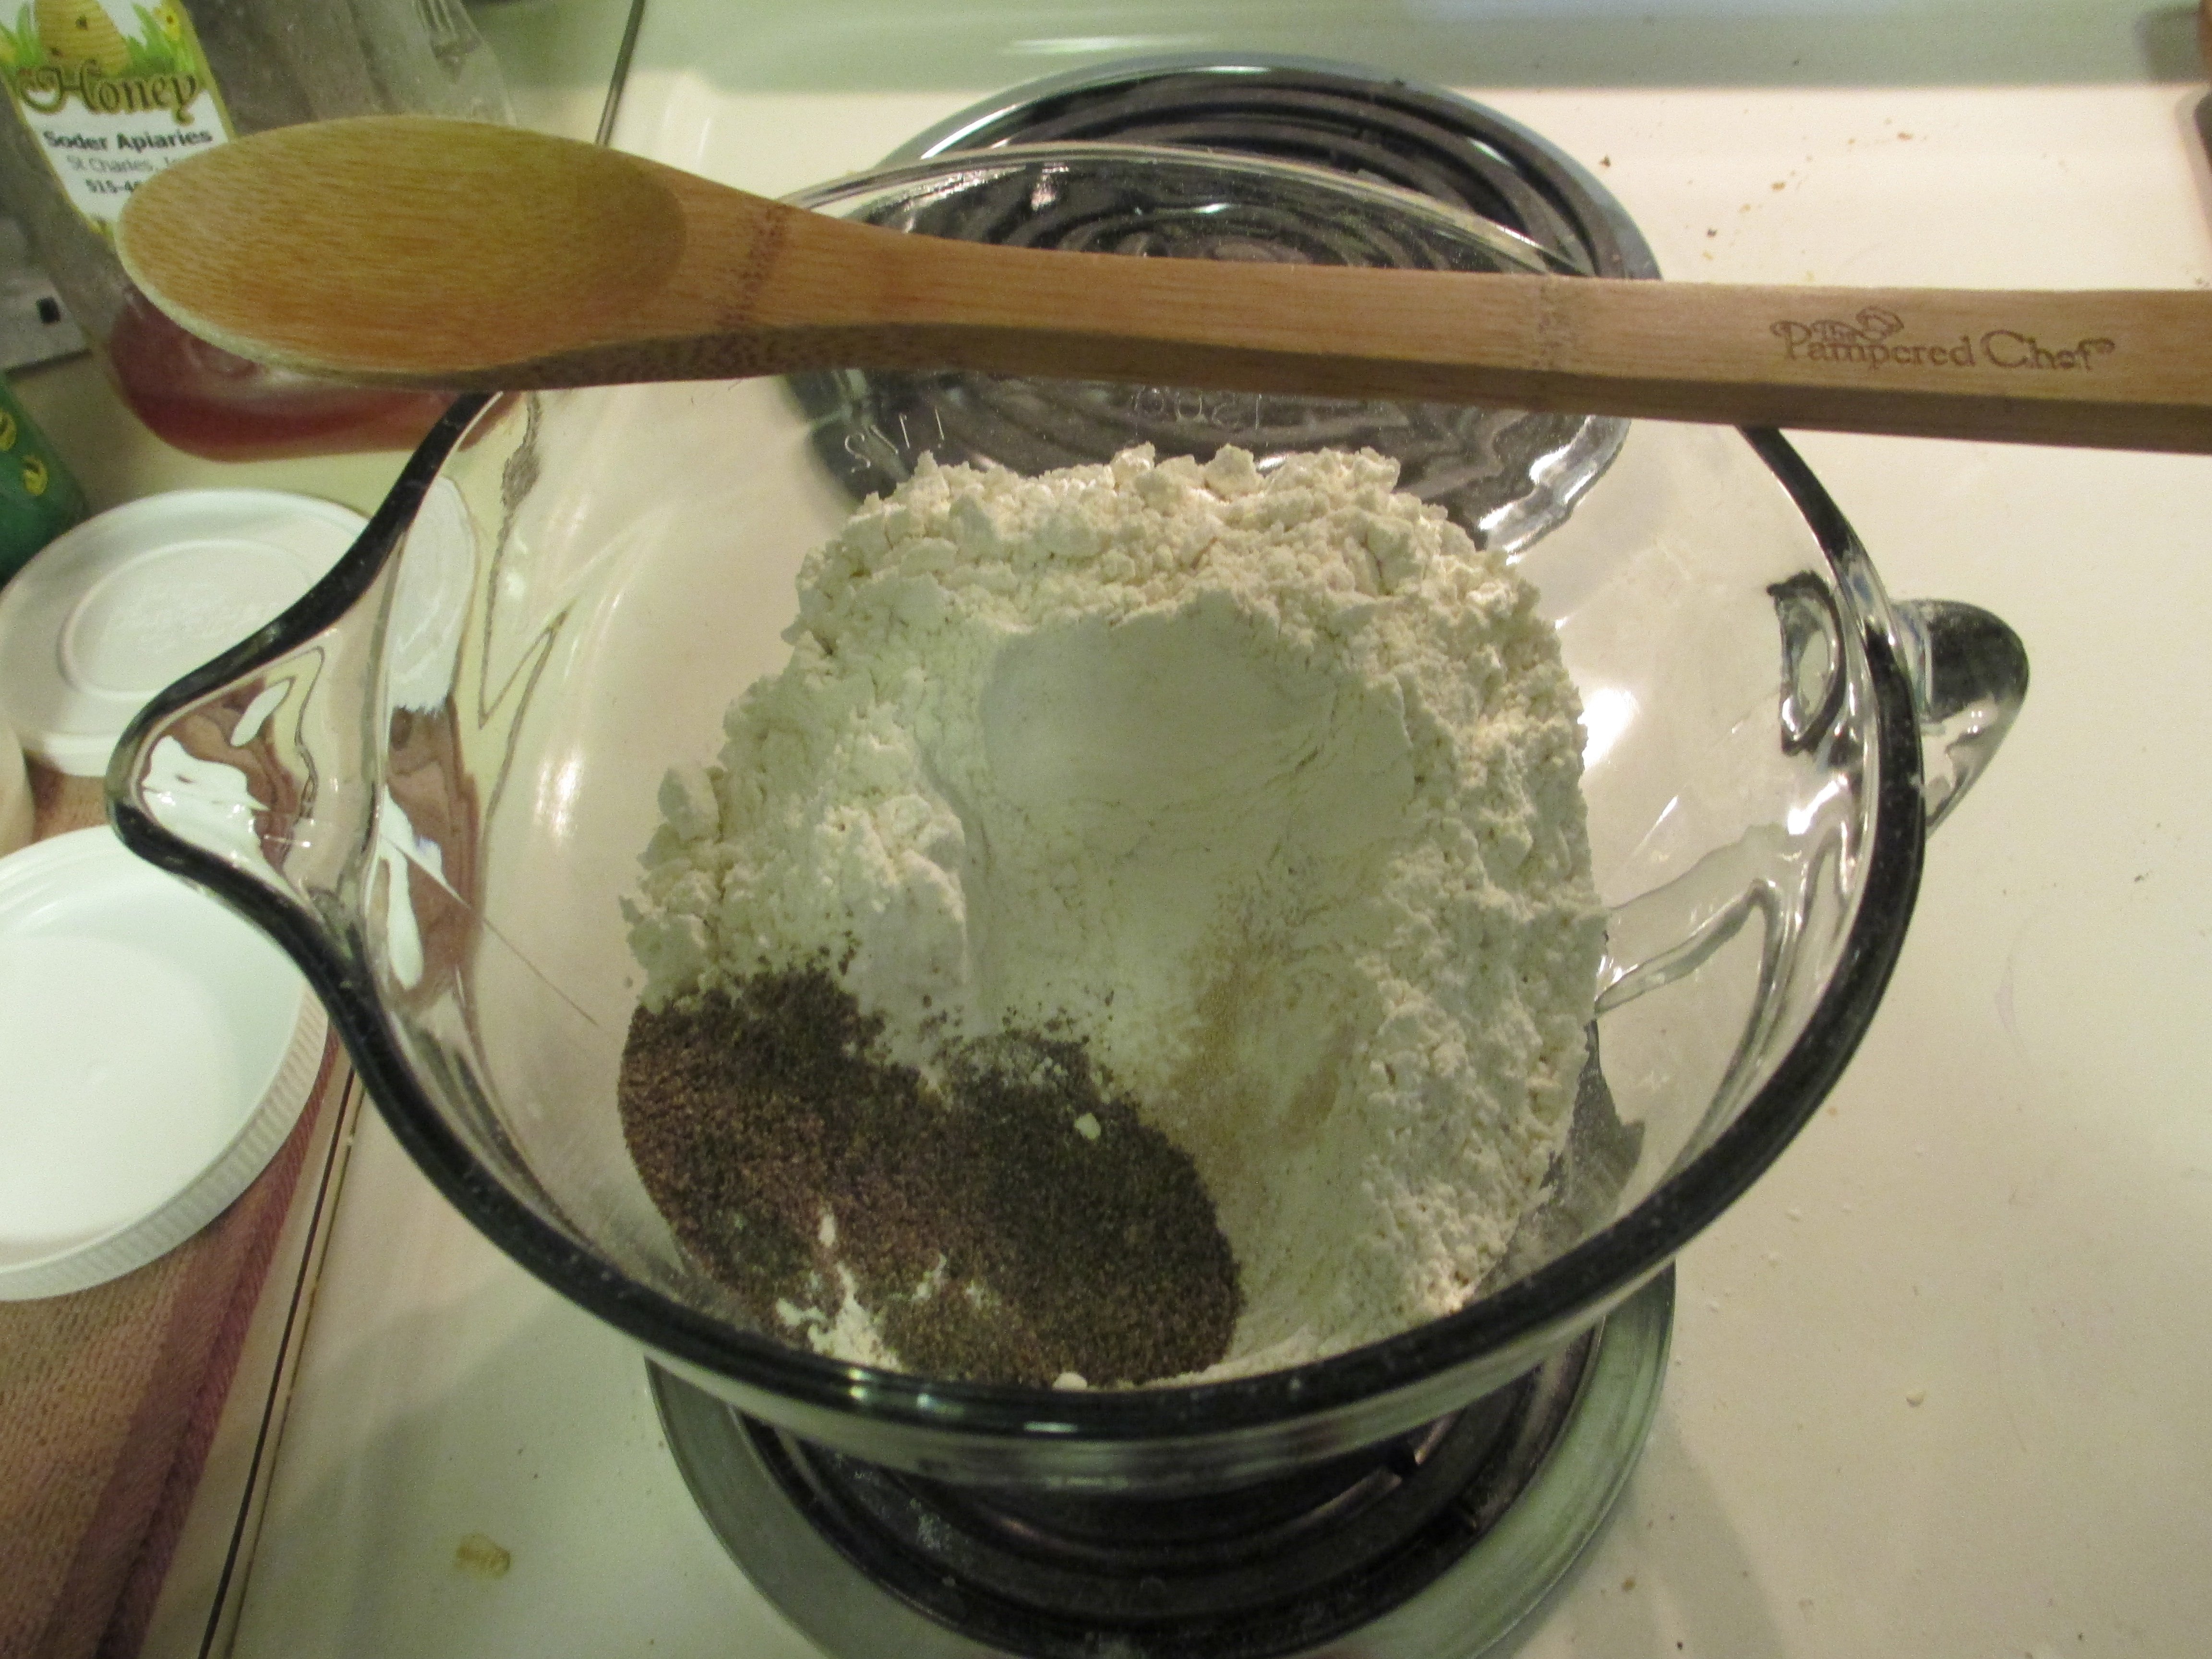
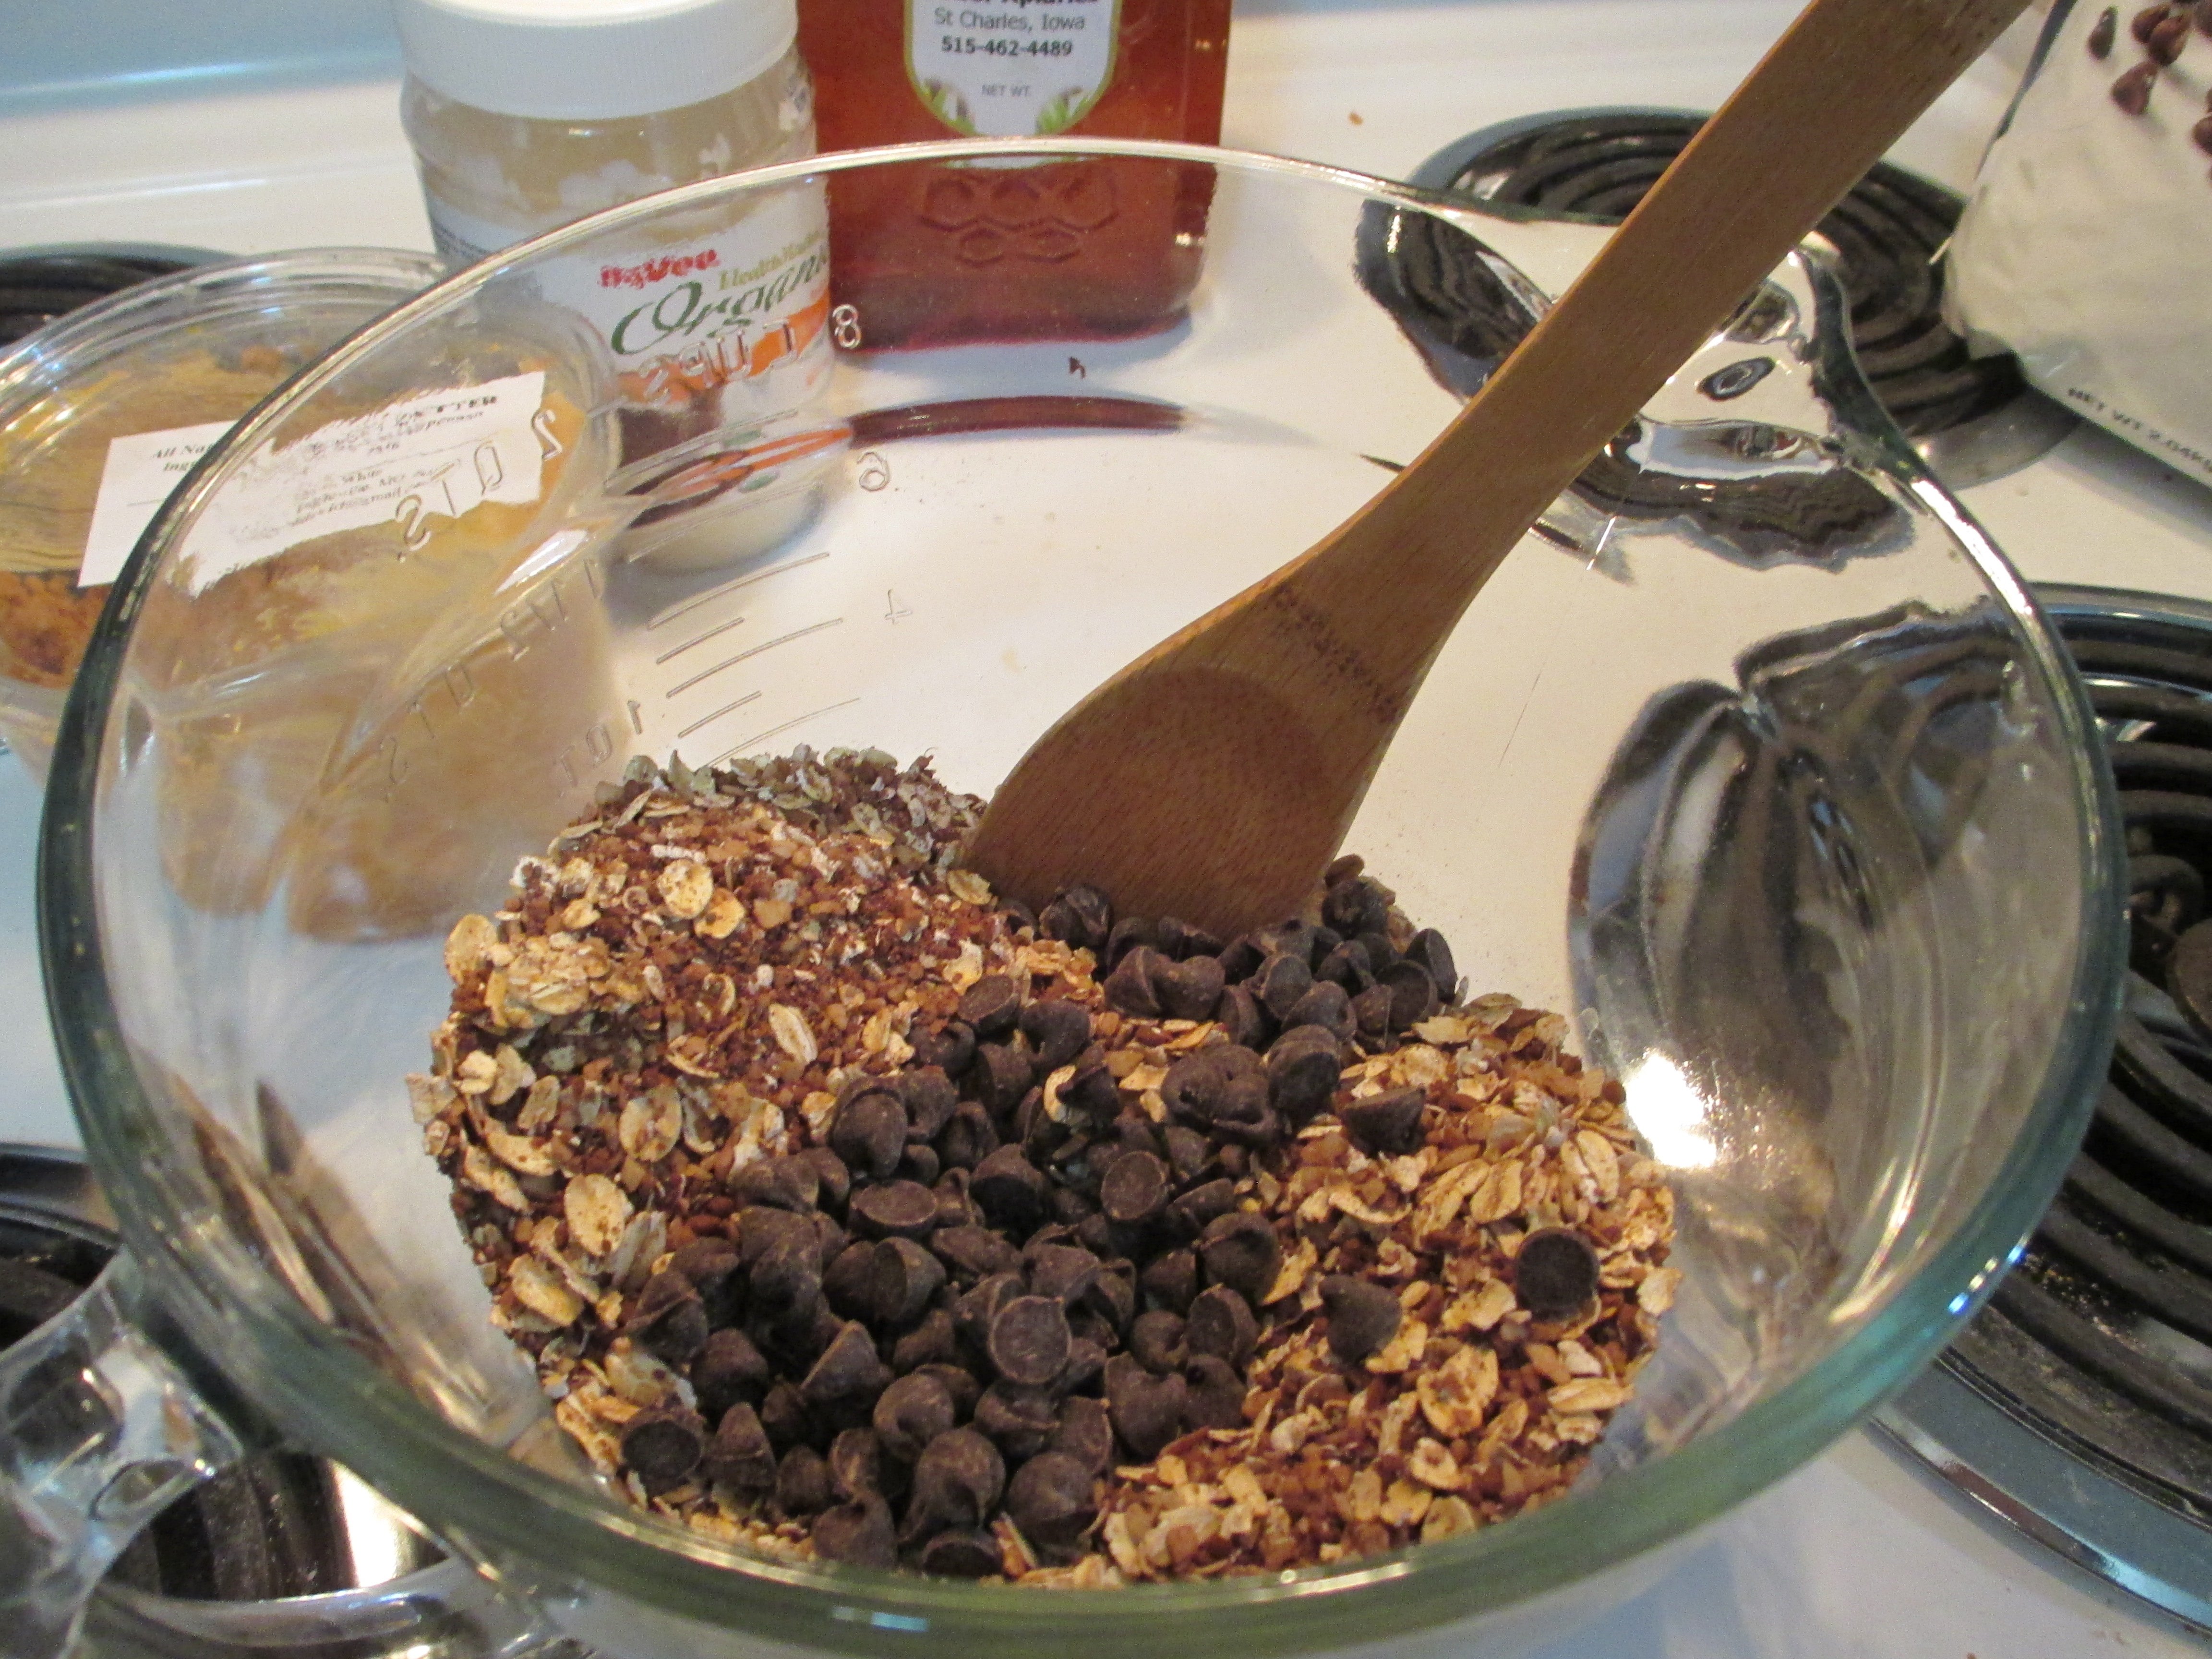
Mix all the dry ingredients together in a bowl. Make sure it’s well blended so the chia doesn’t clump.
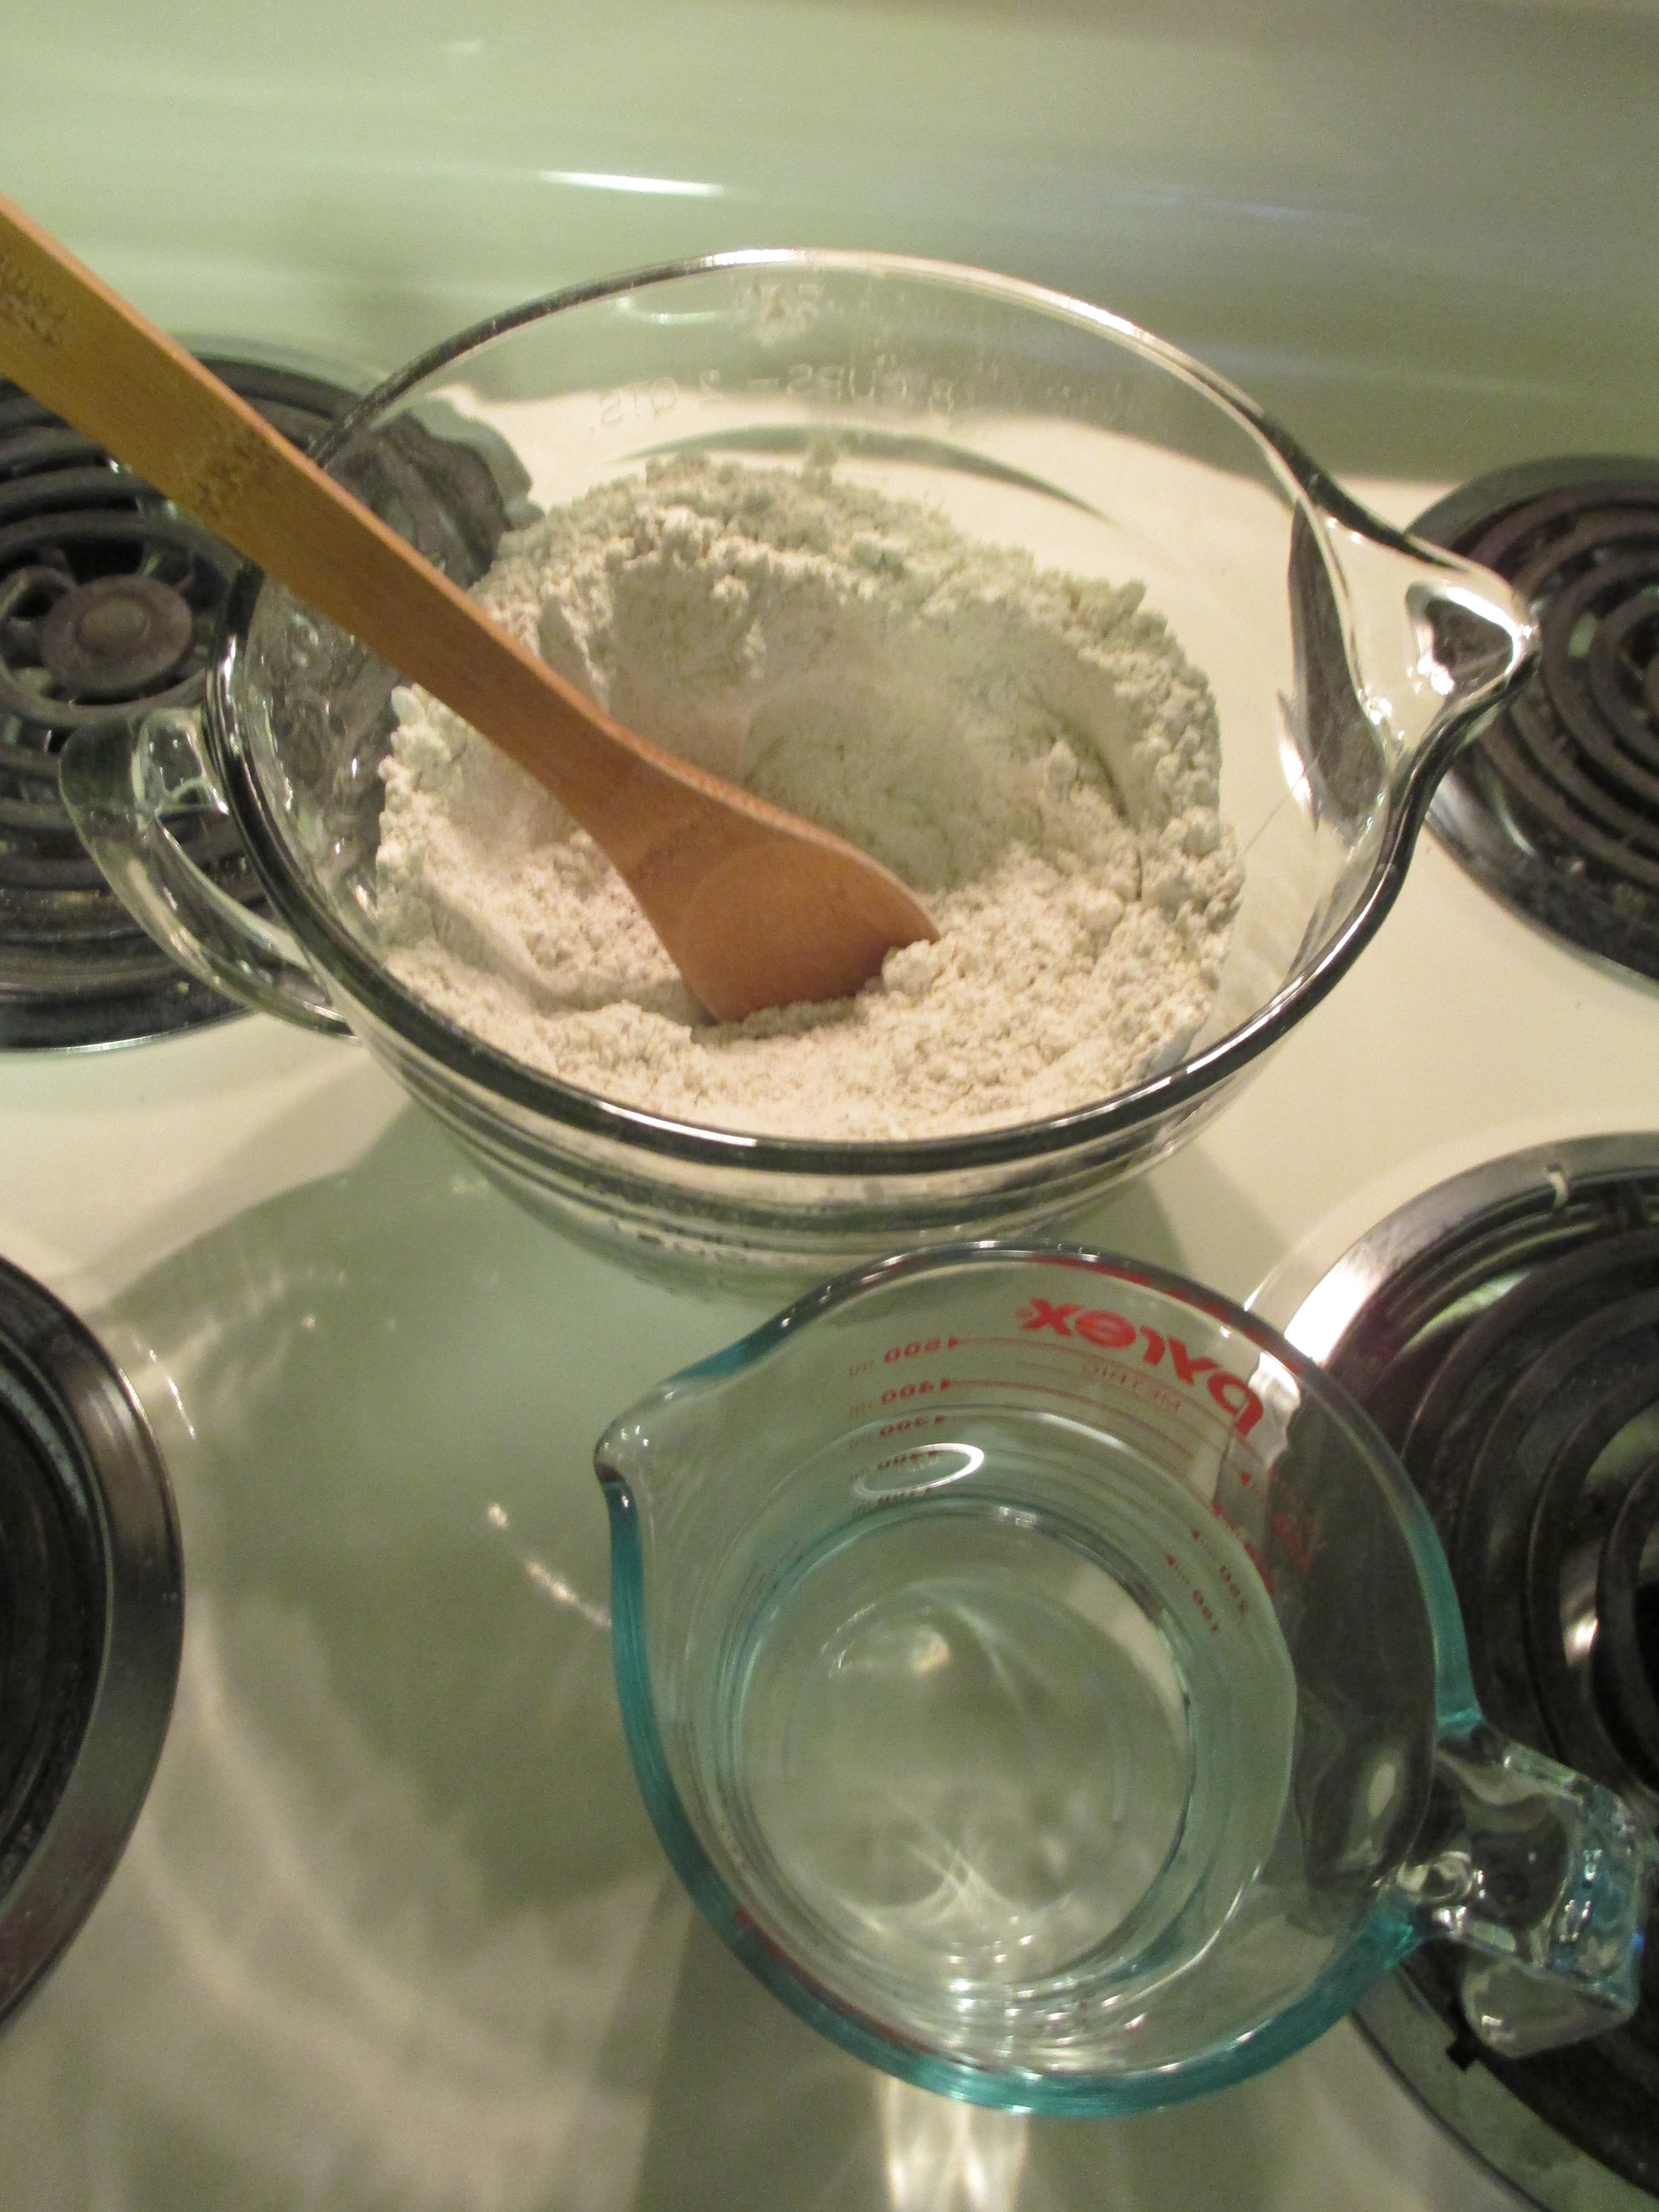
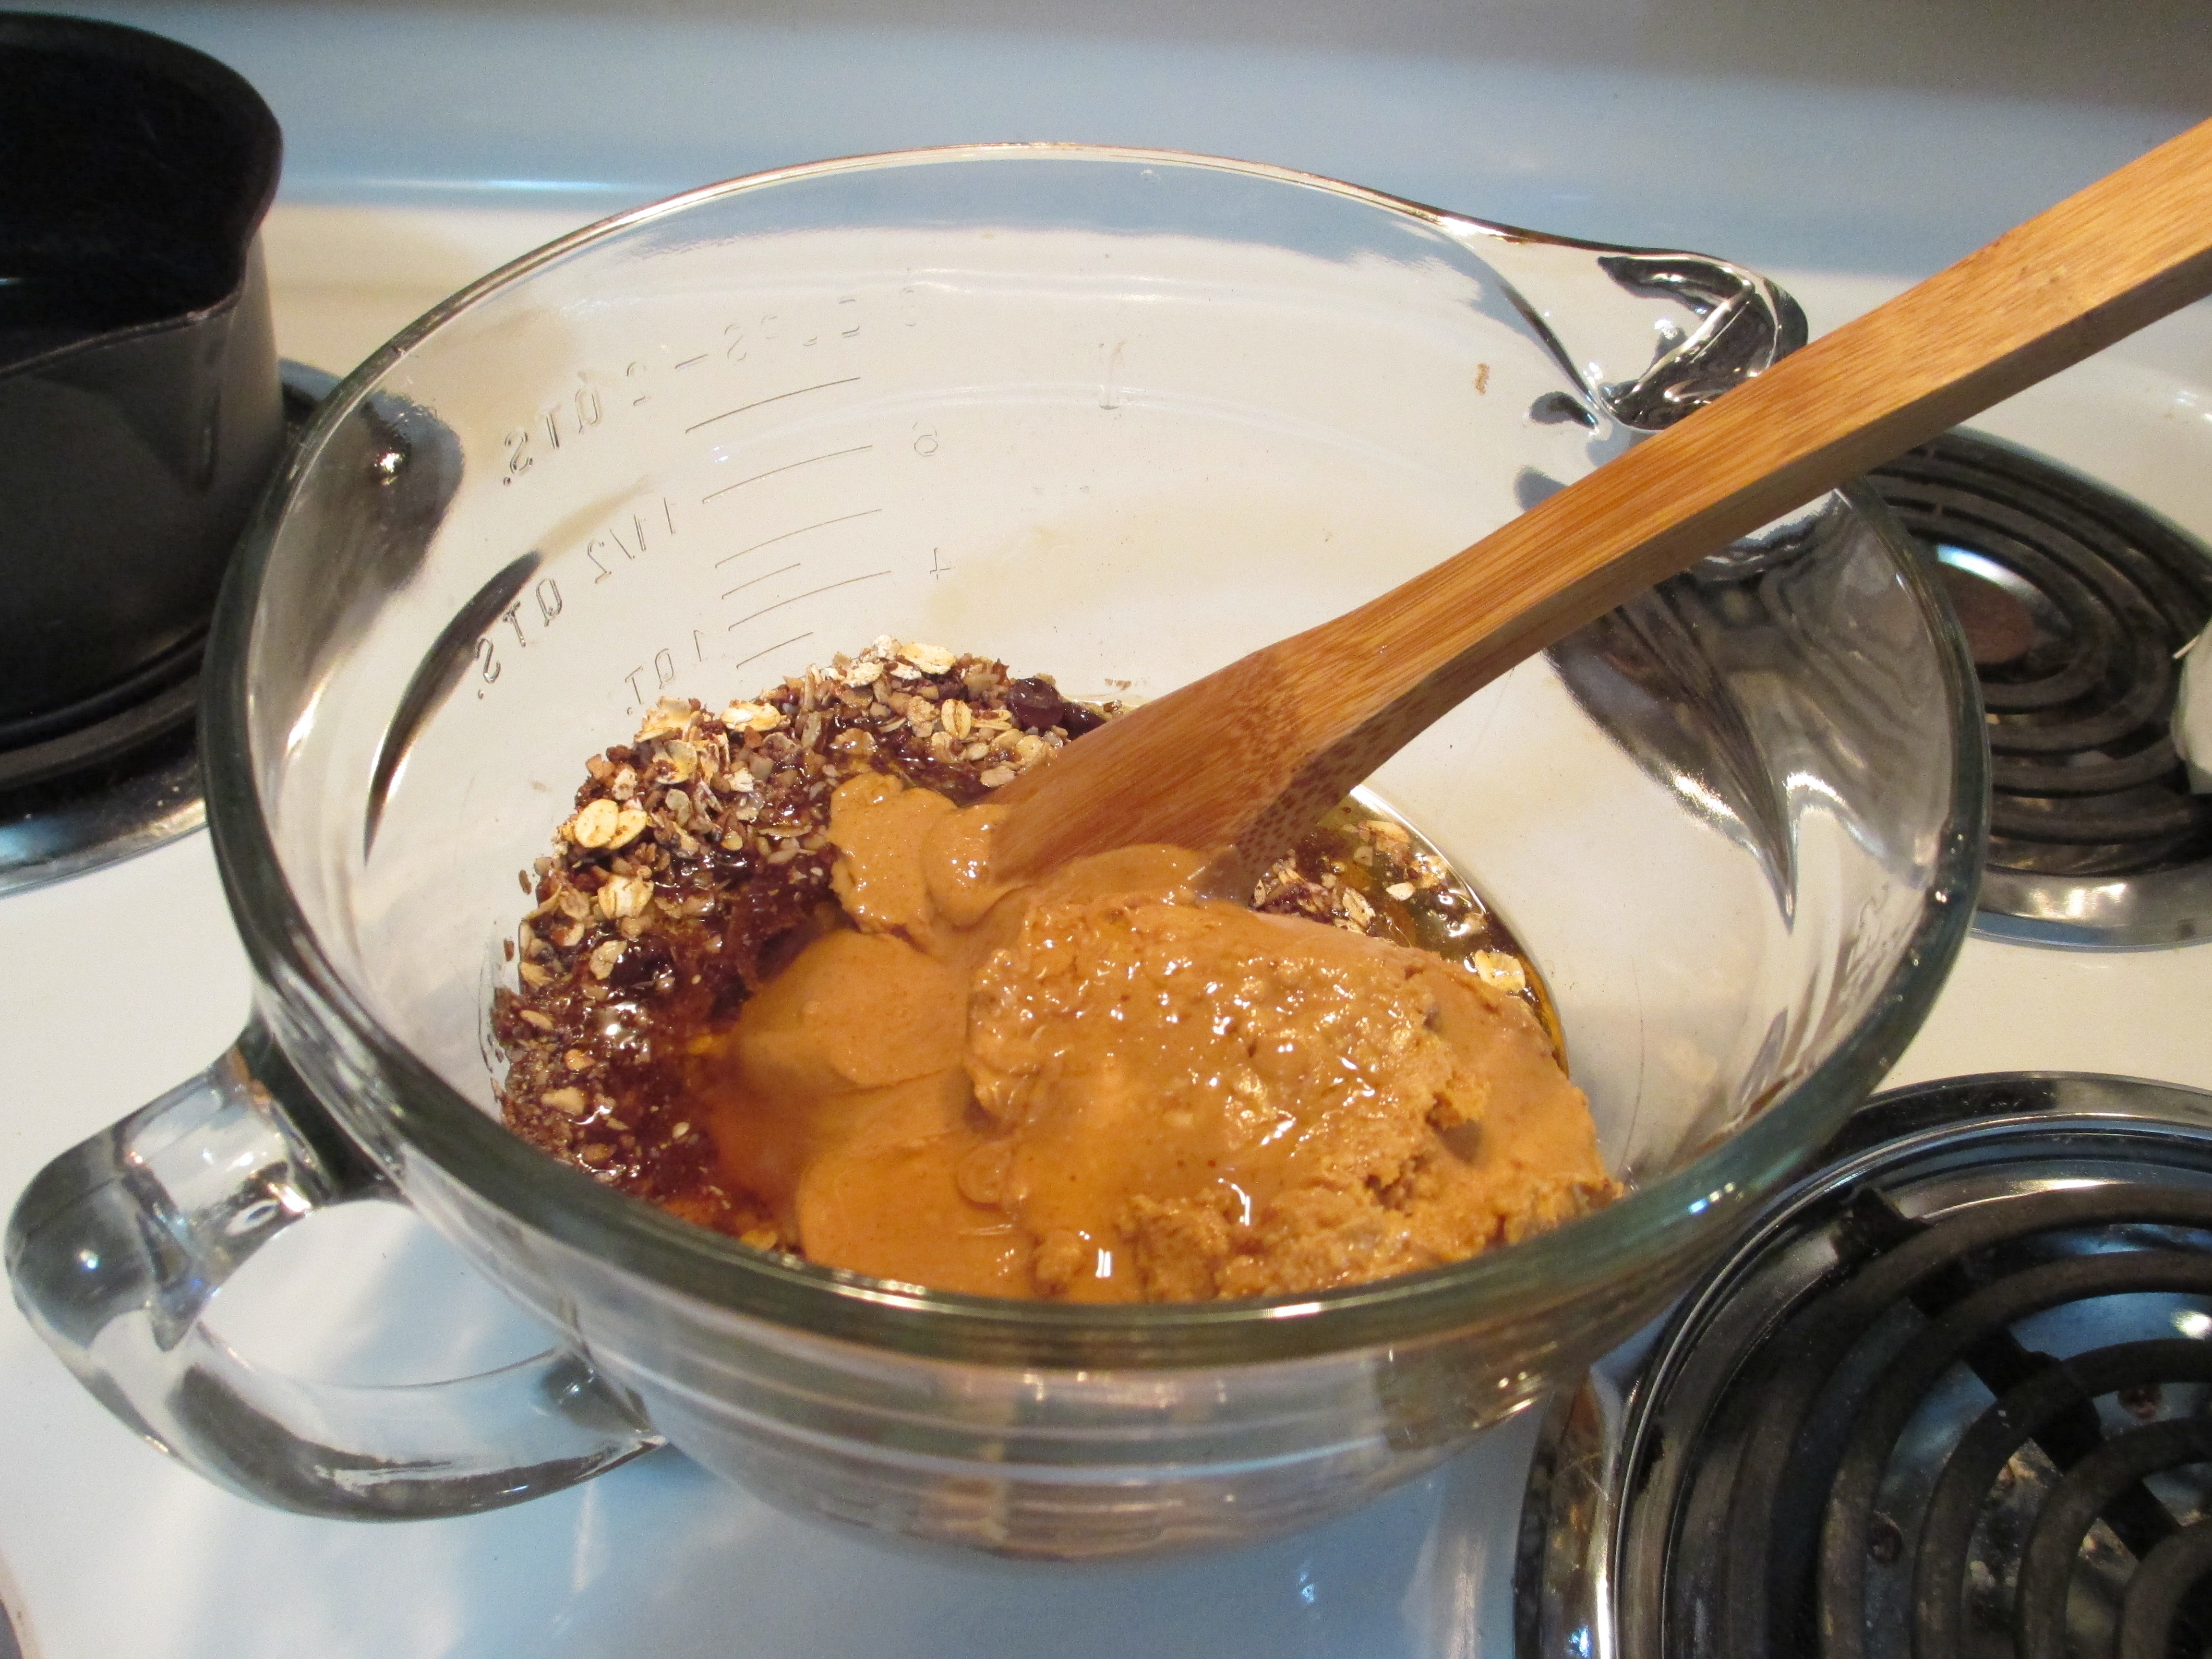
Add the warm (NOT boiling!) water.
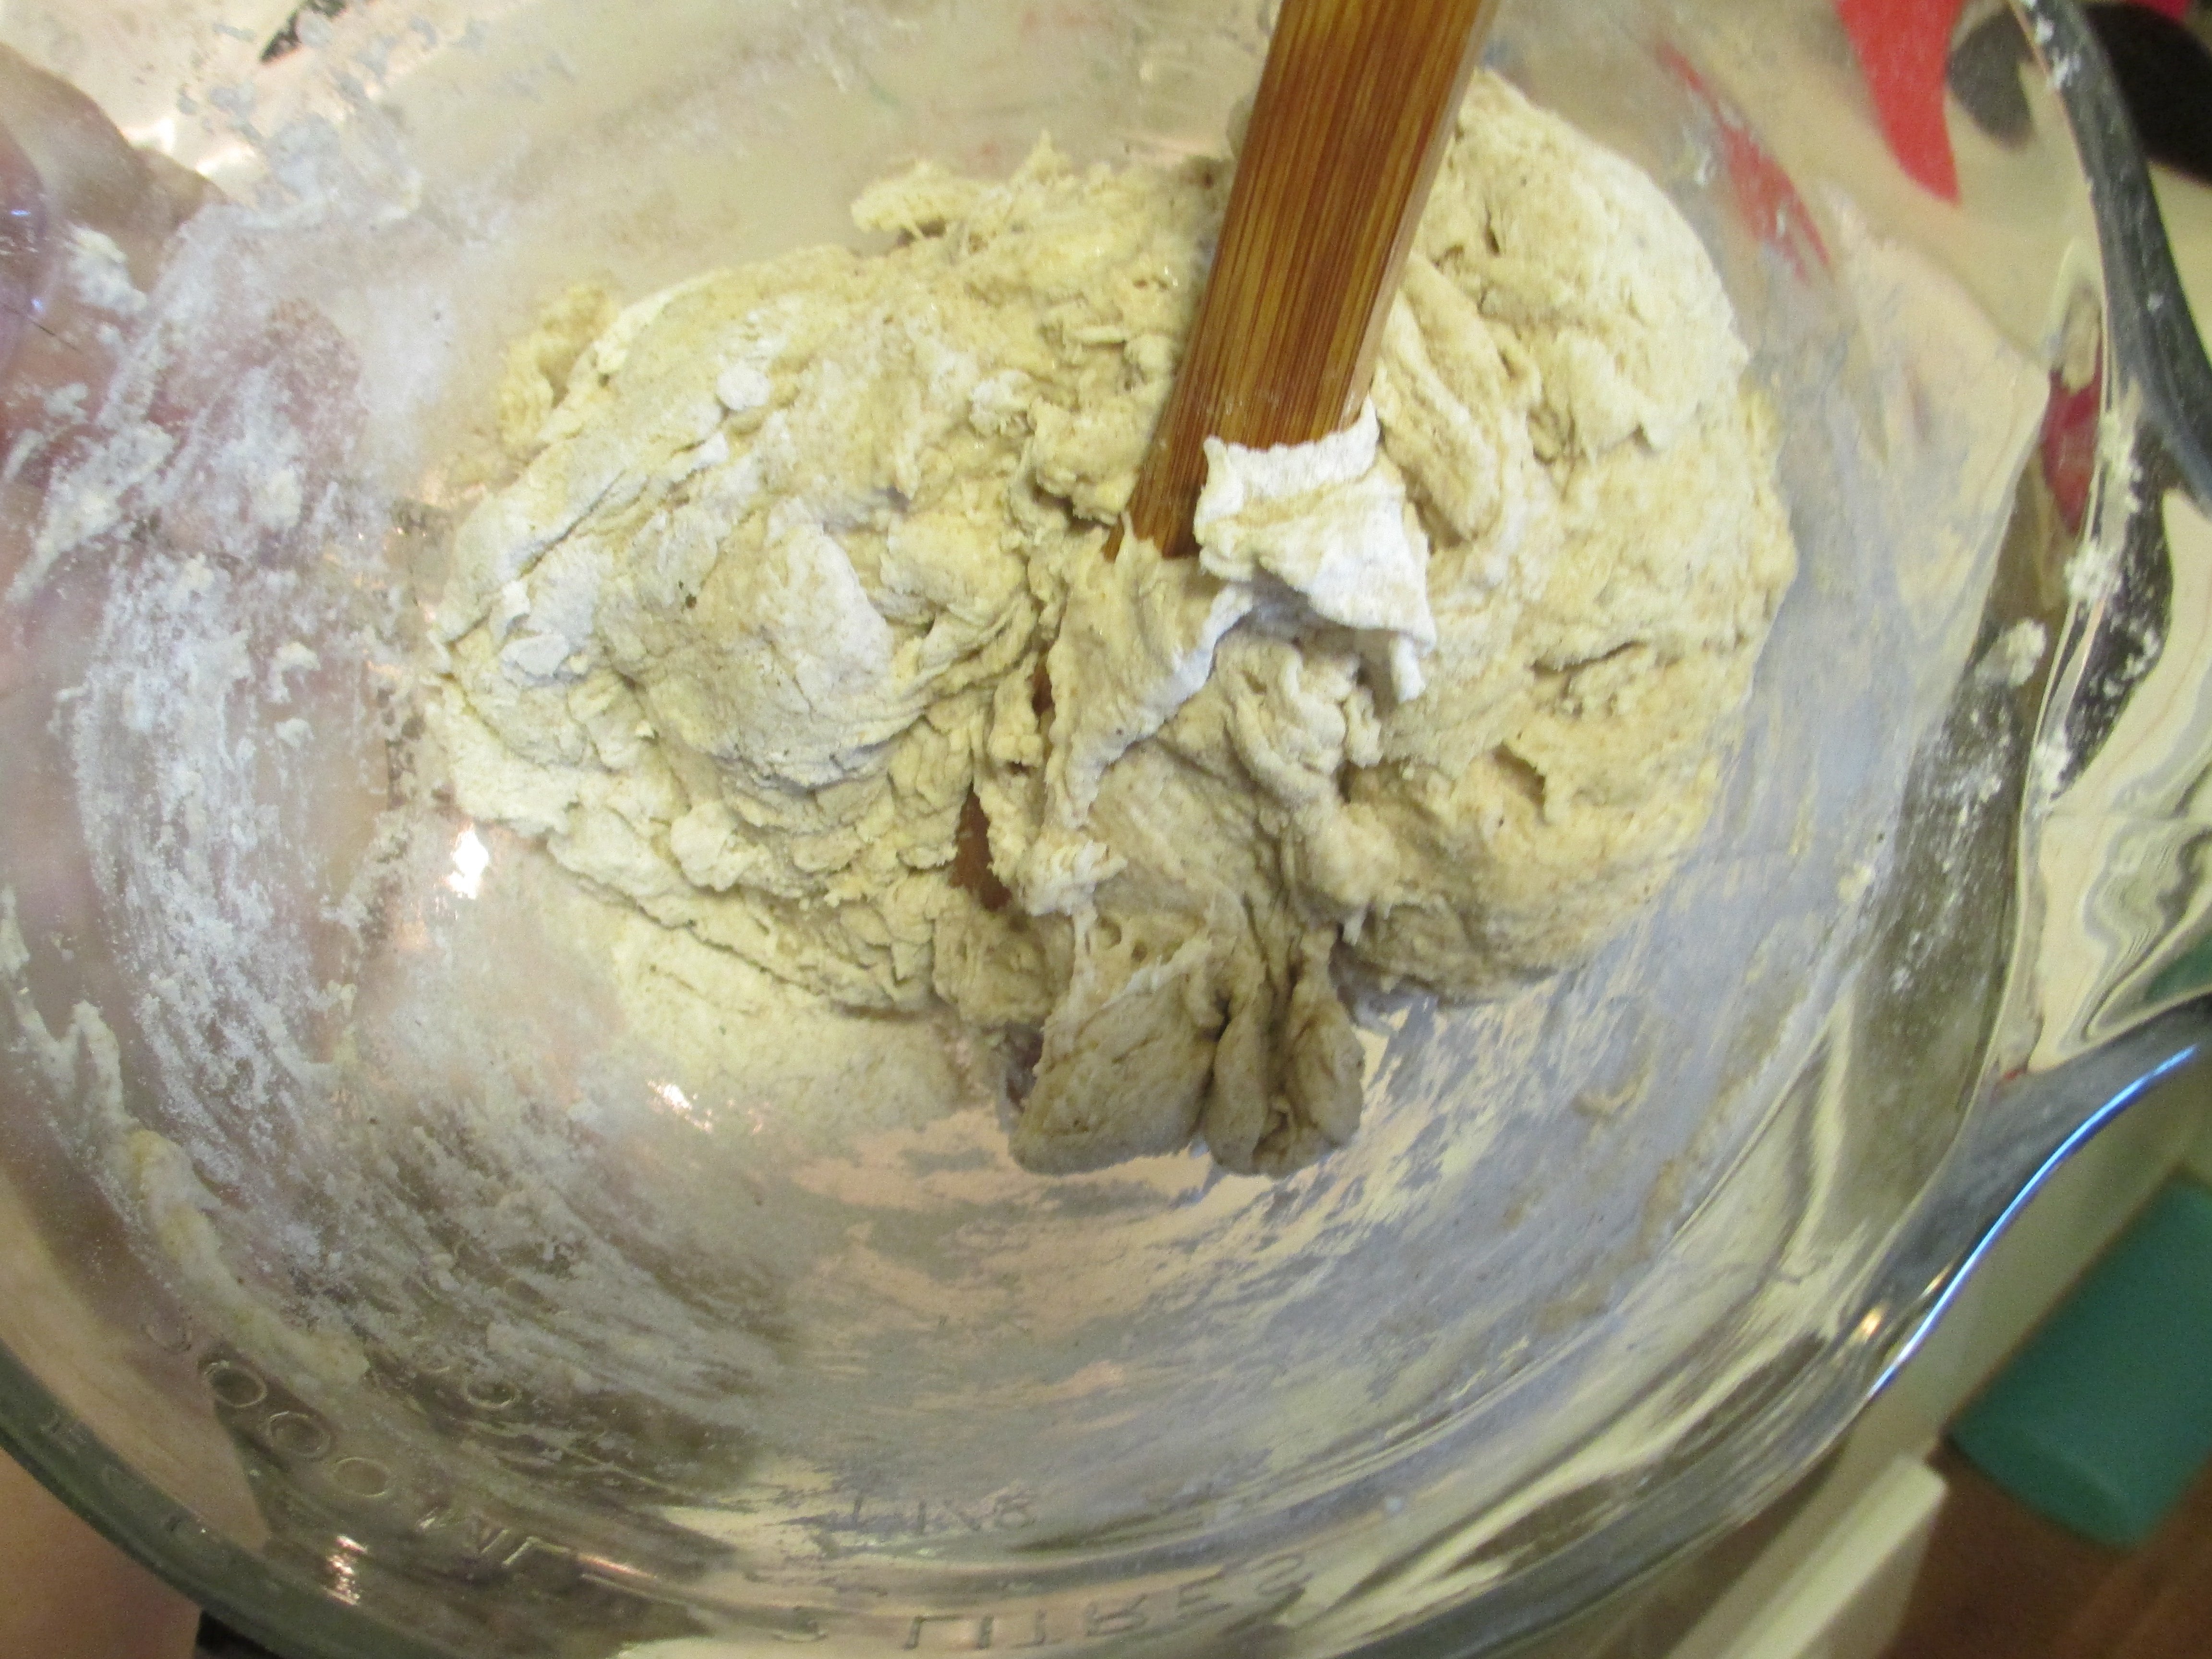
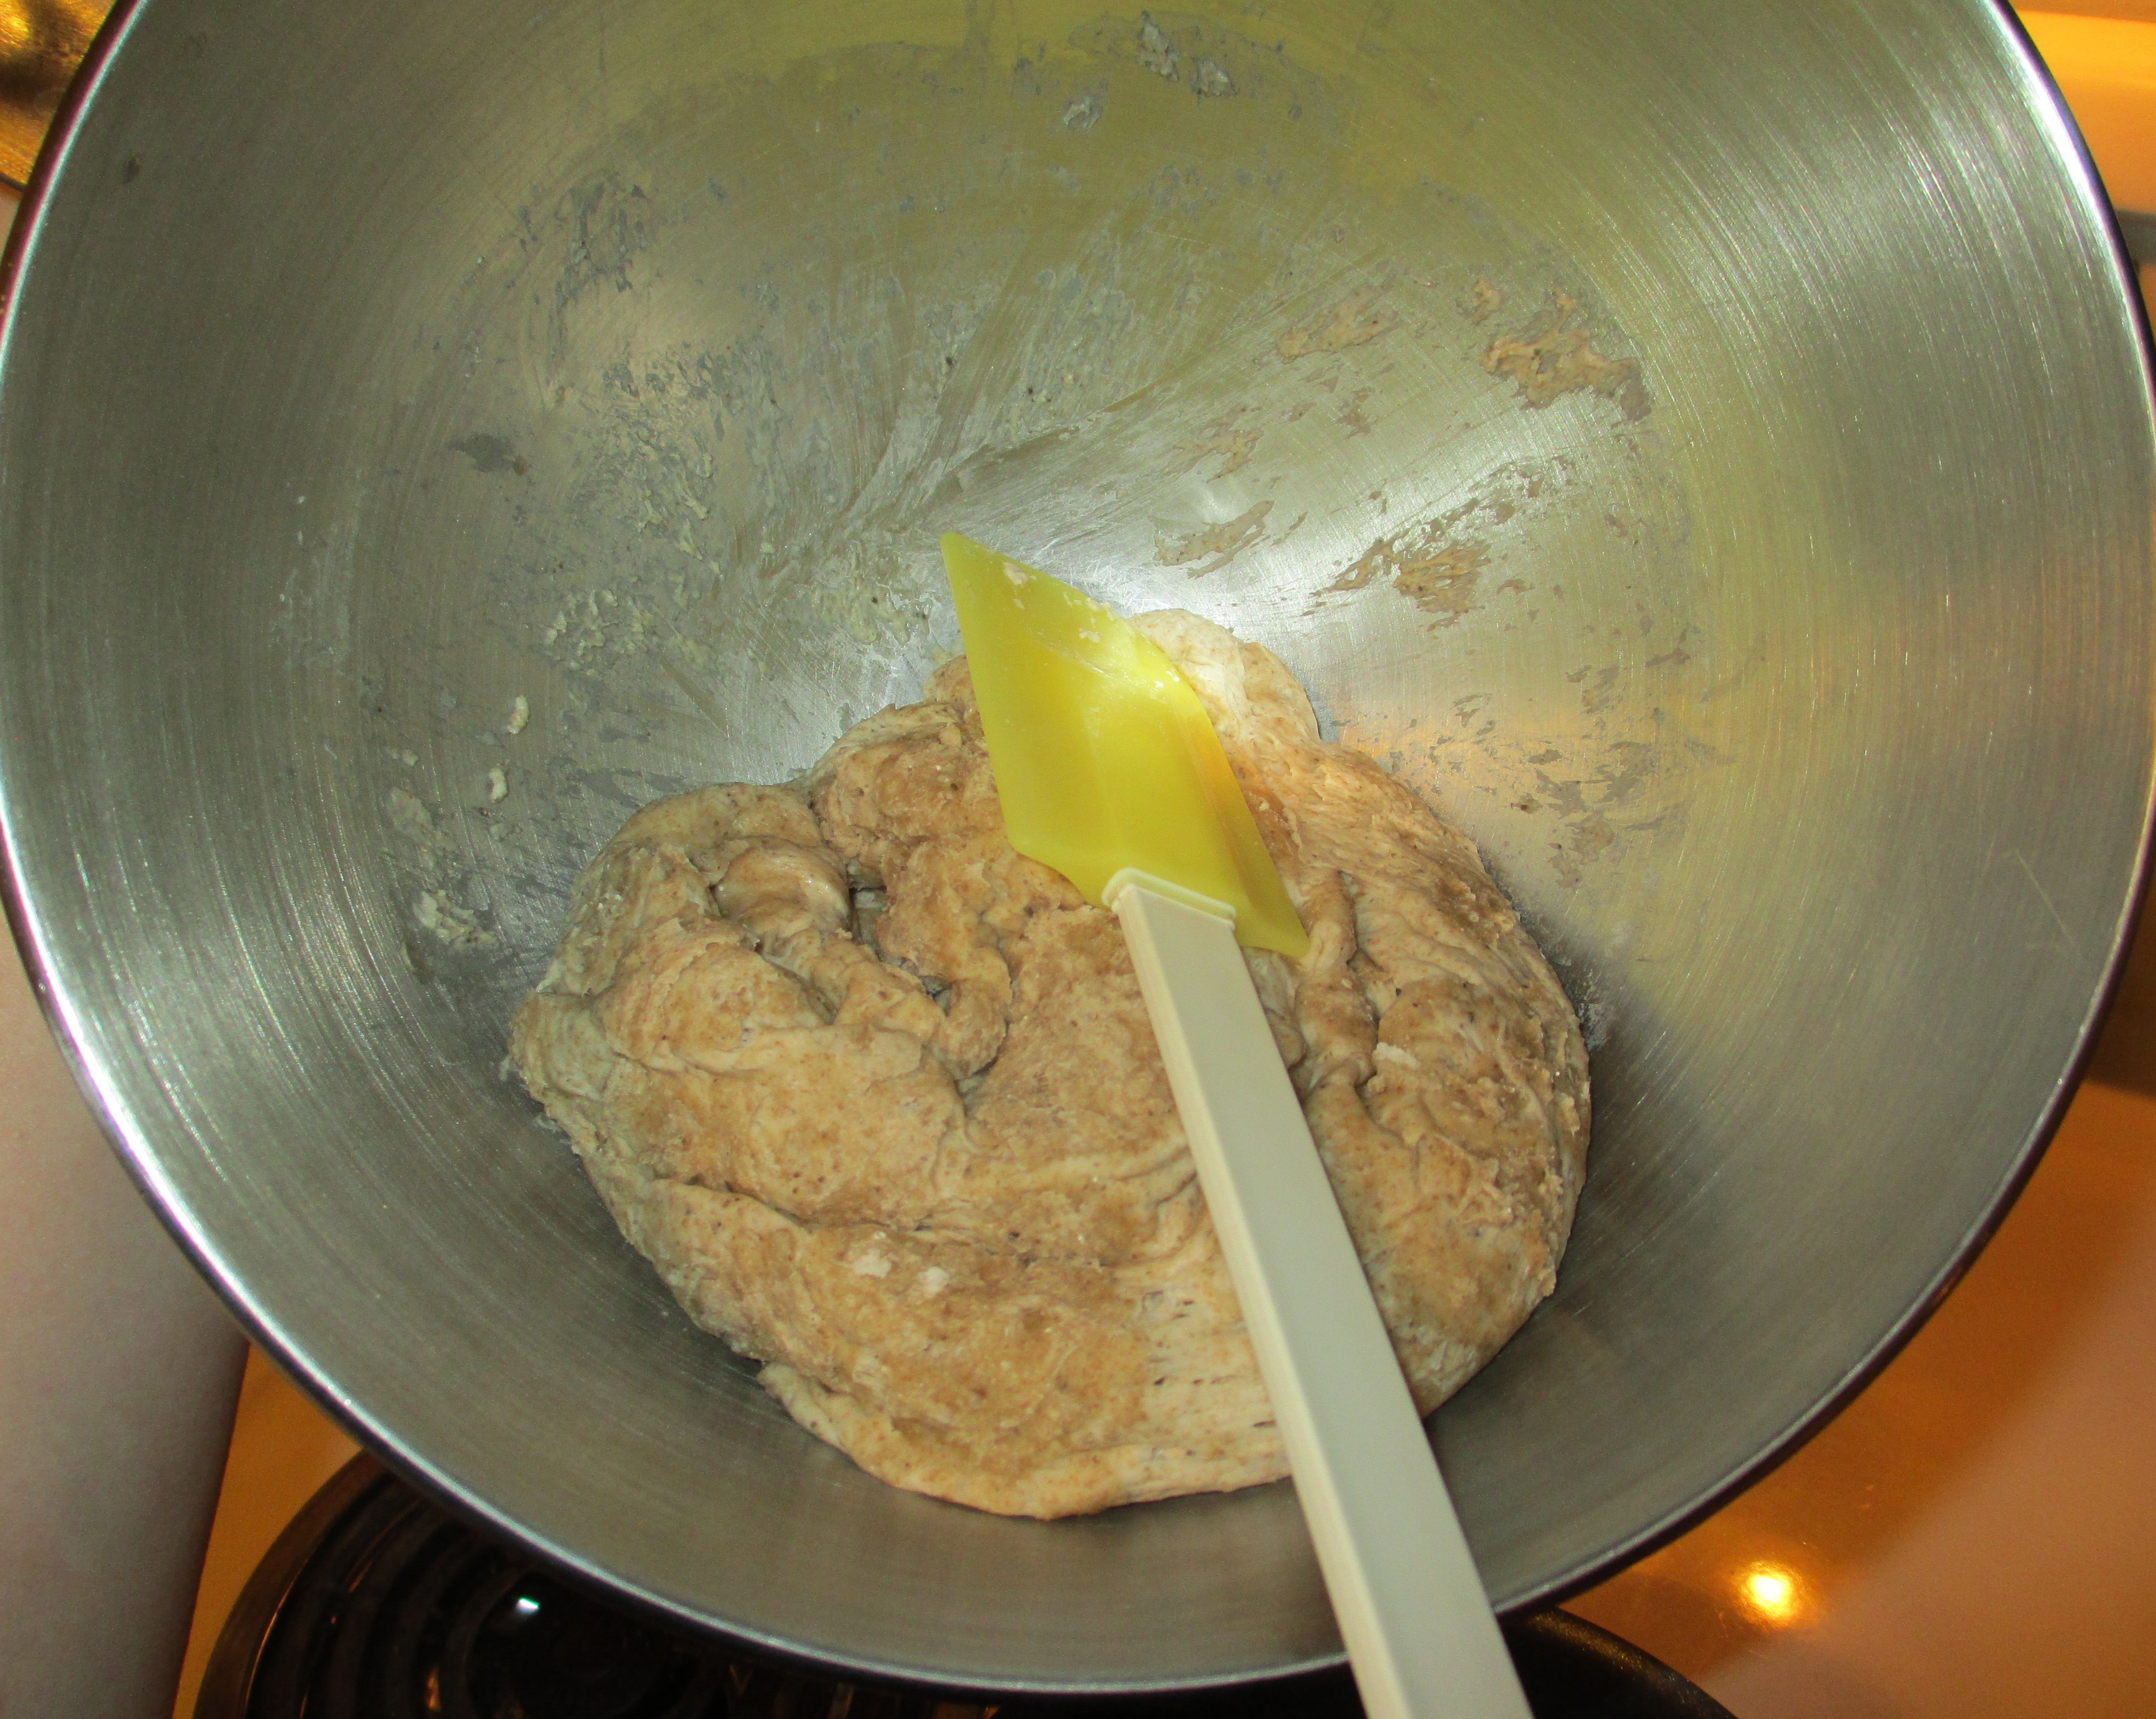
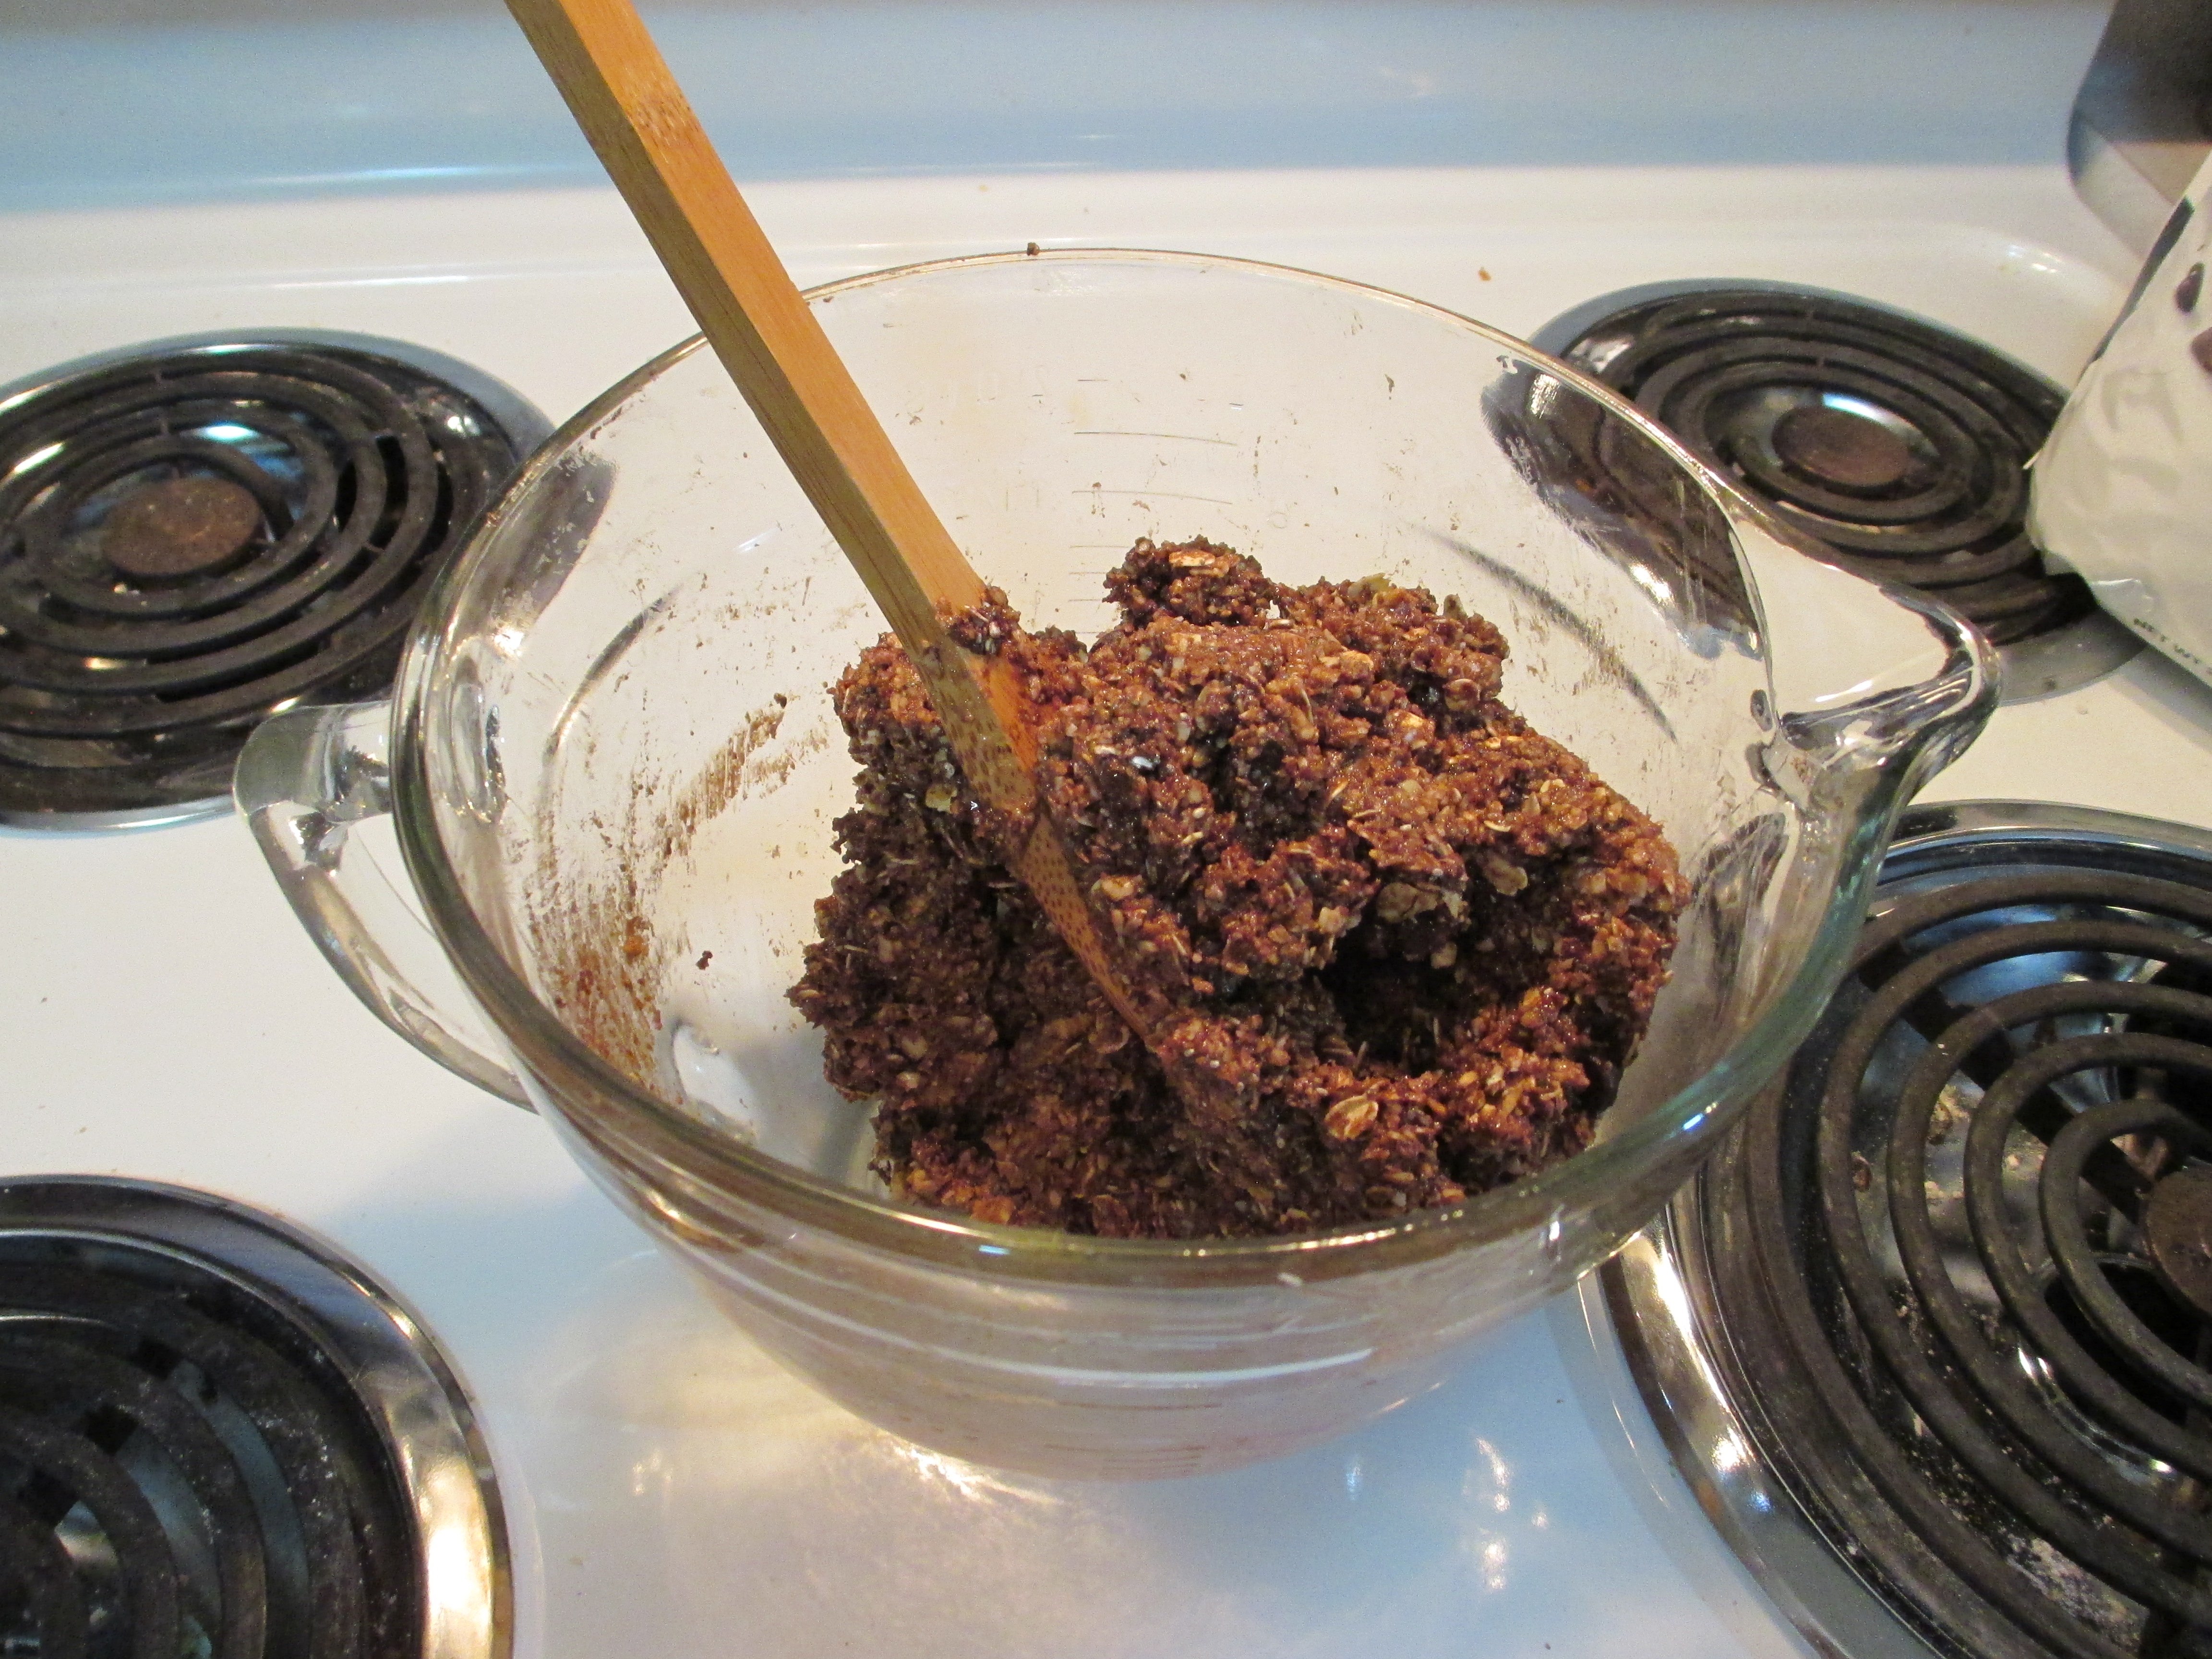
Stir until all the flour is integrated. Don’t worry about over working the dough. There should be no flour left outside of the dough. (If it looks like below, keep going.)
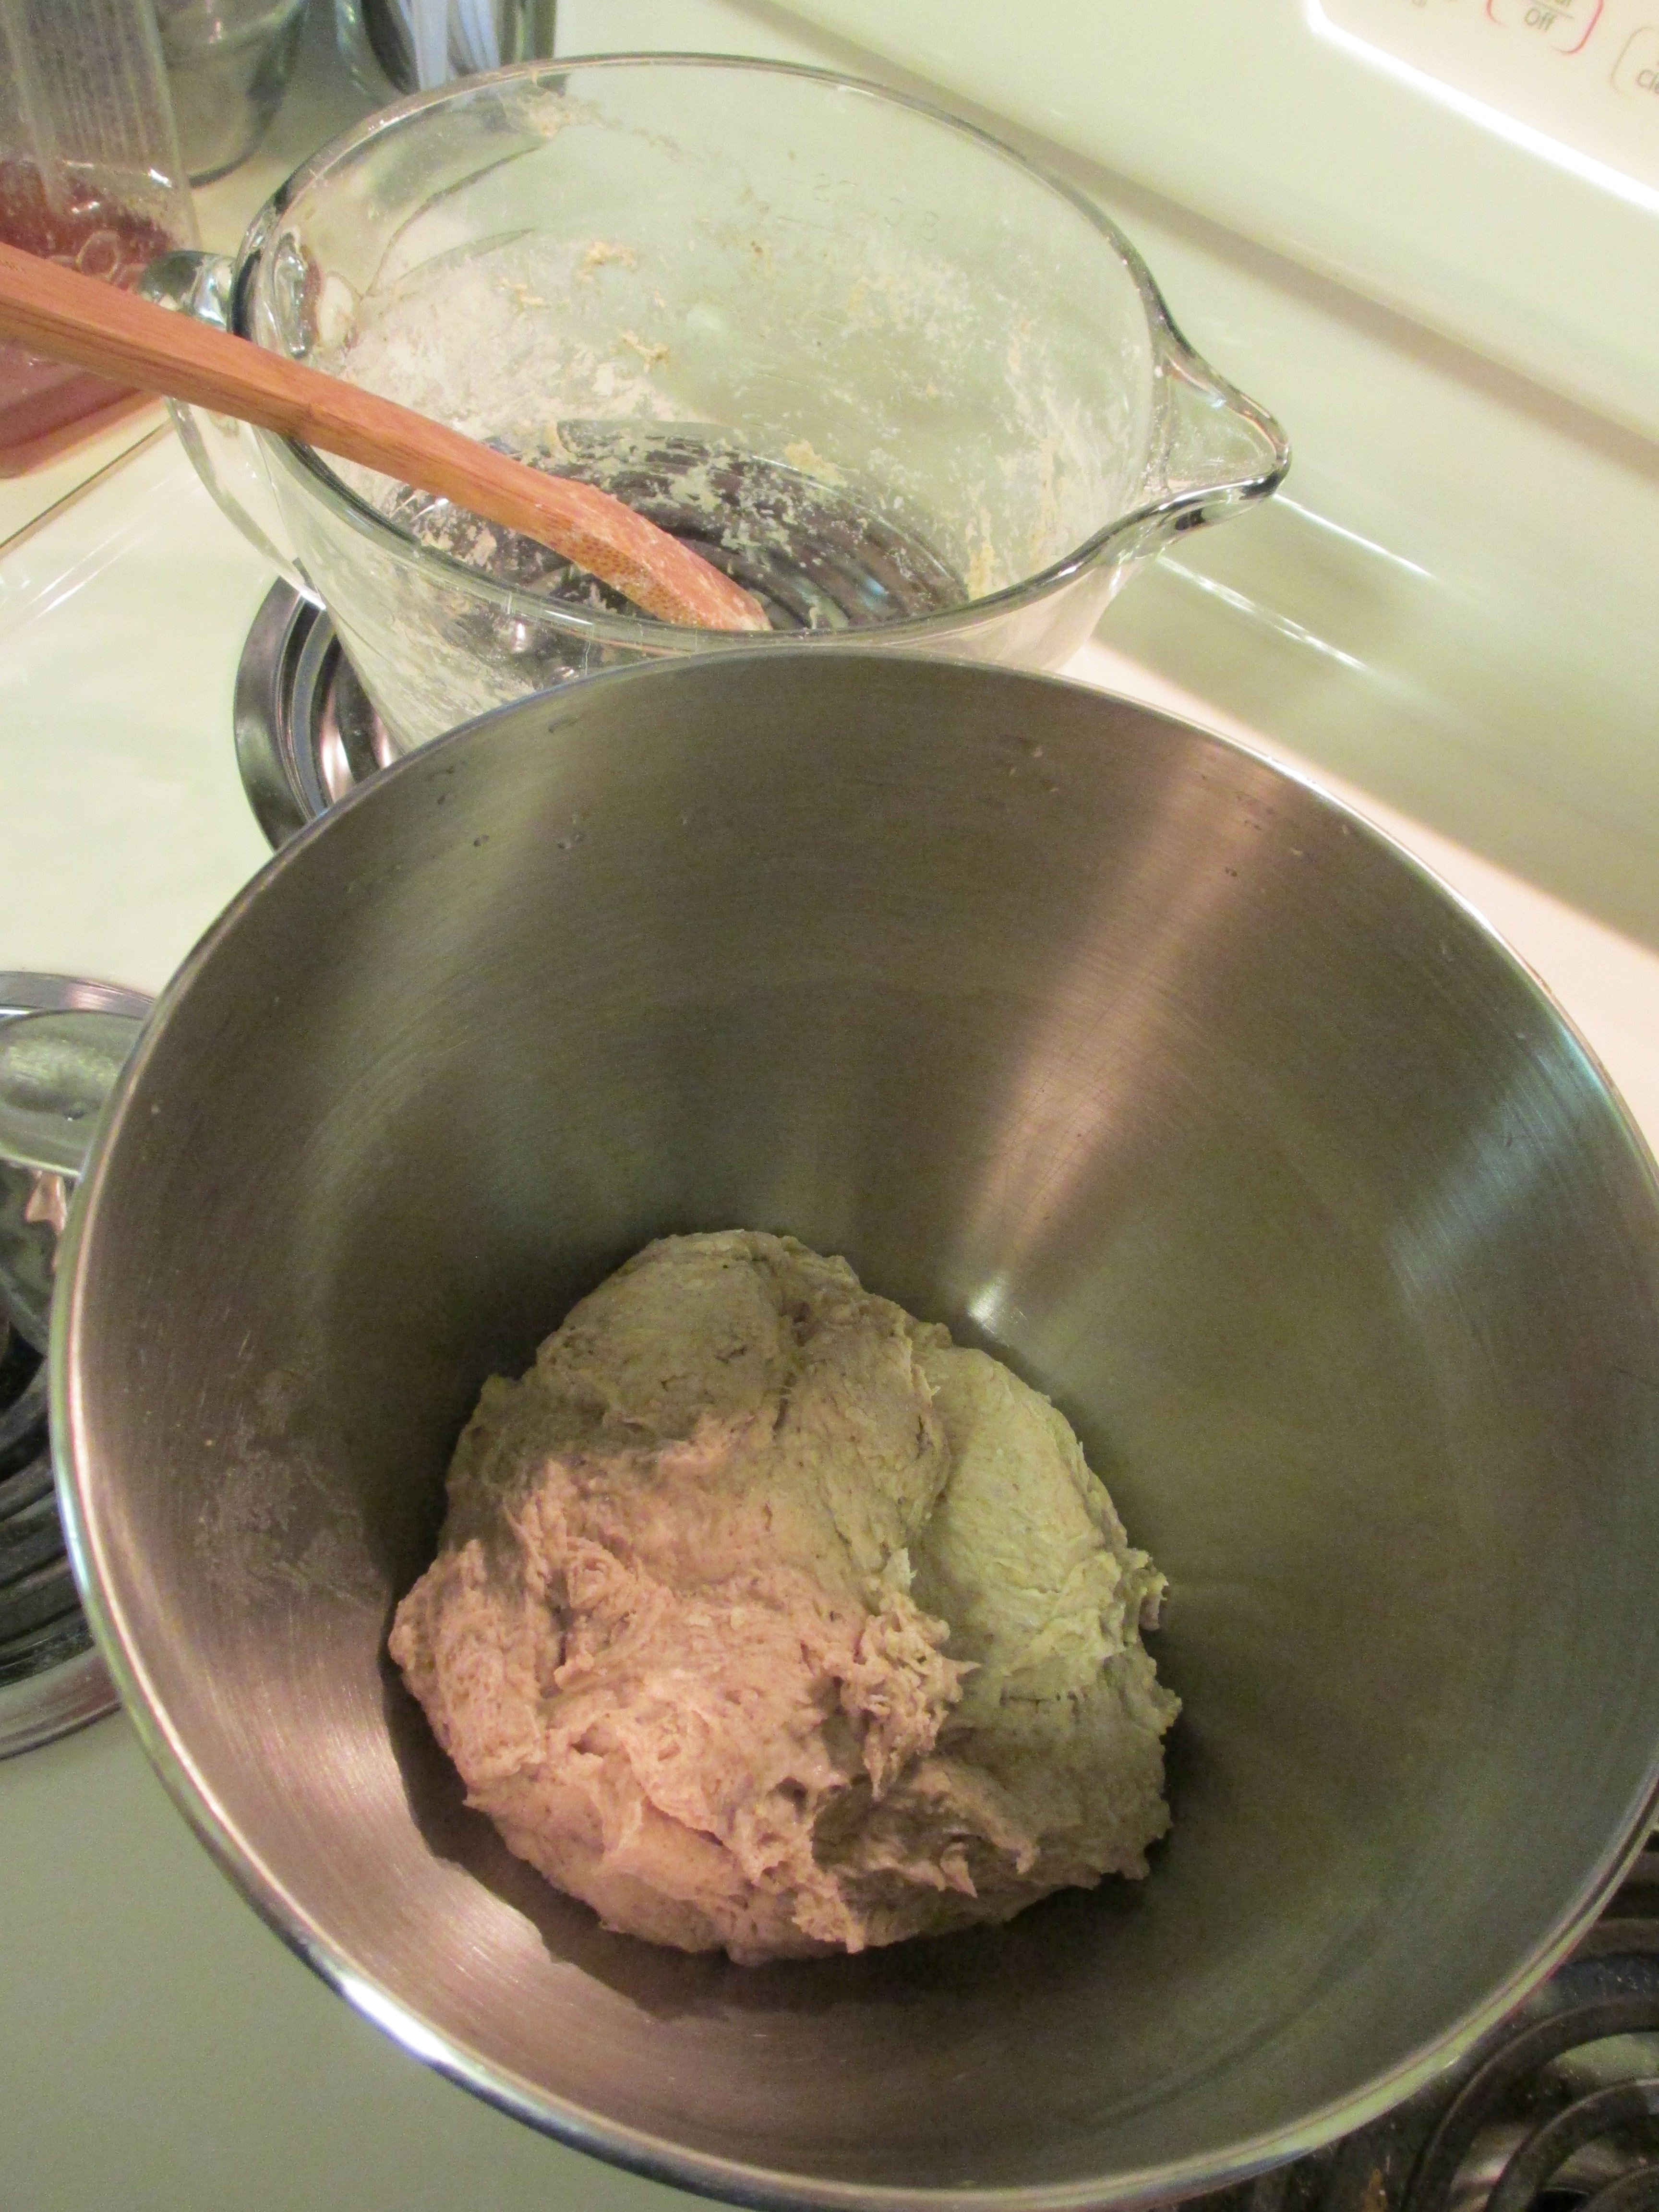
The dough will be stickier than normal for bread dough. (Below is well mixed.)
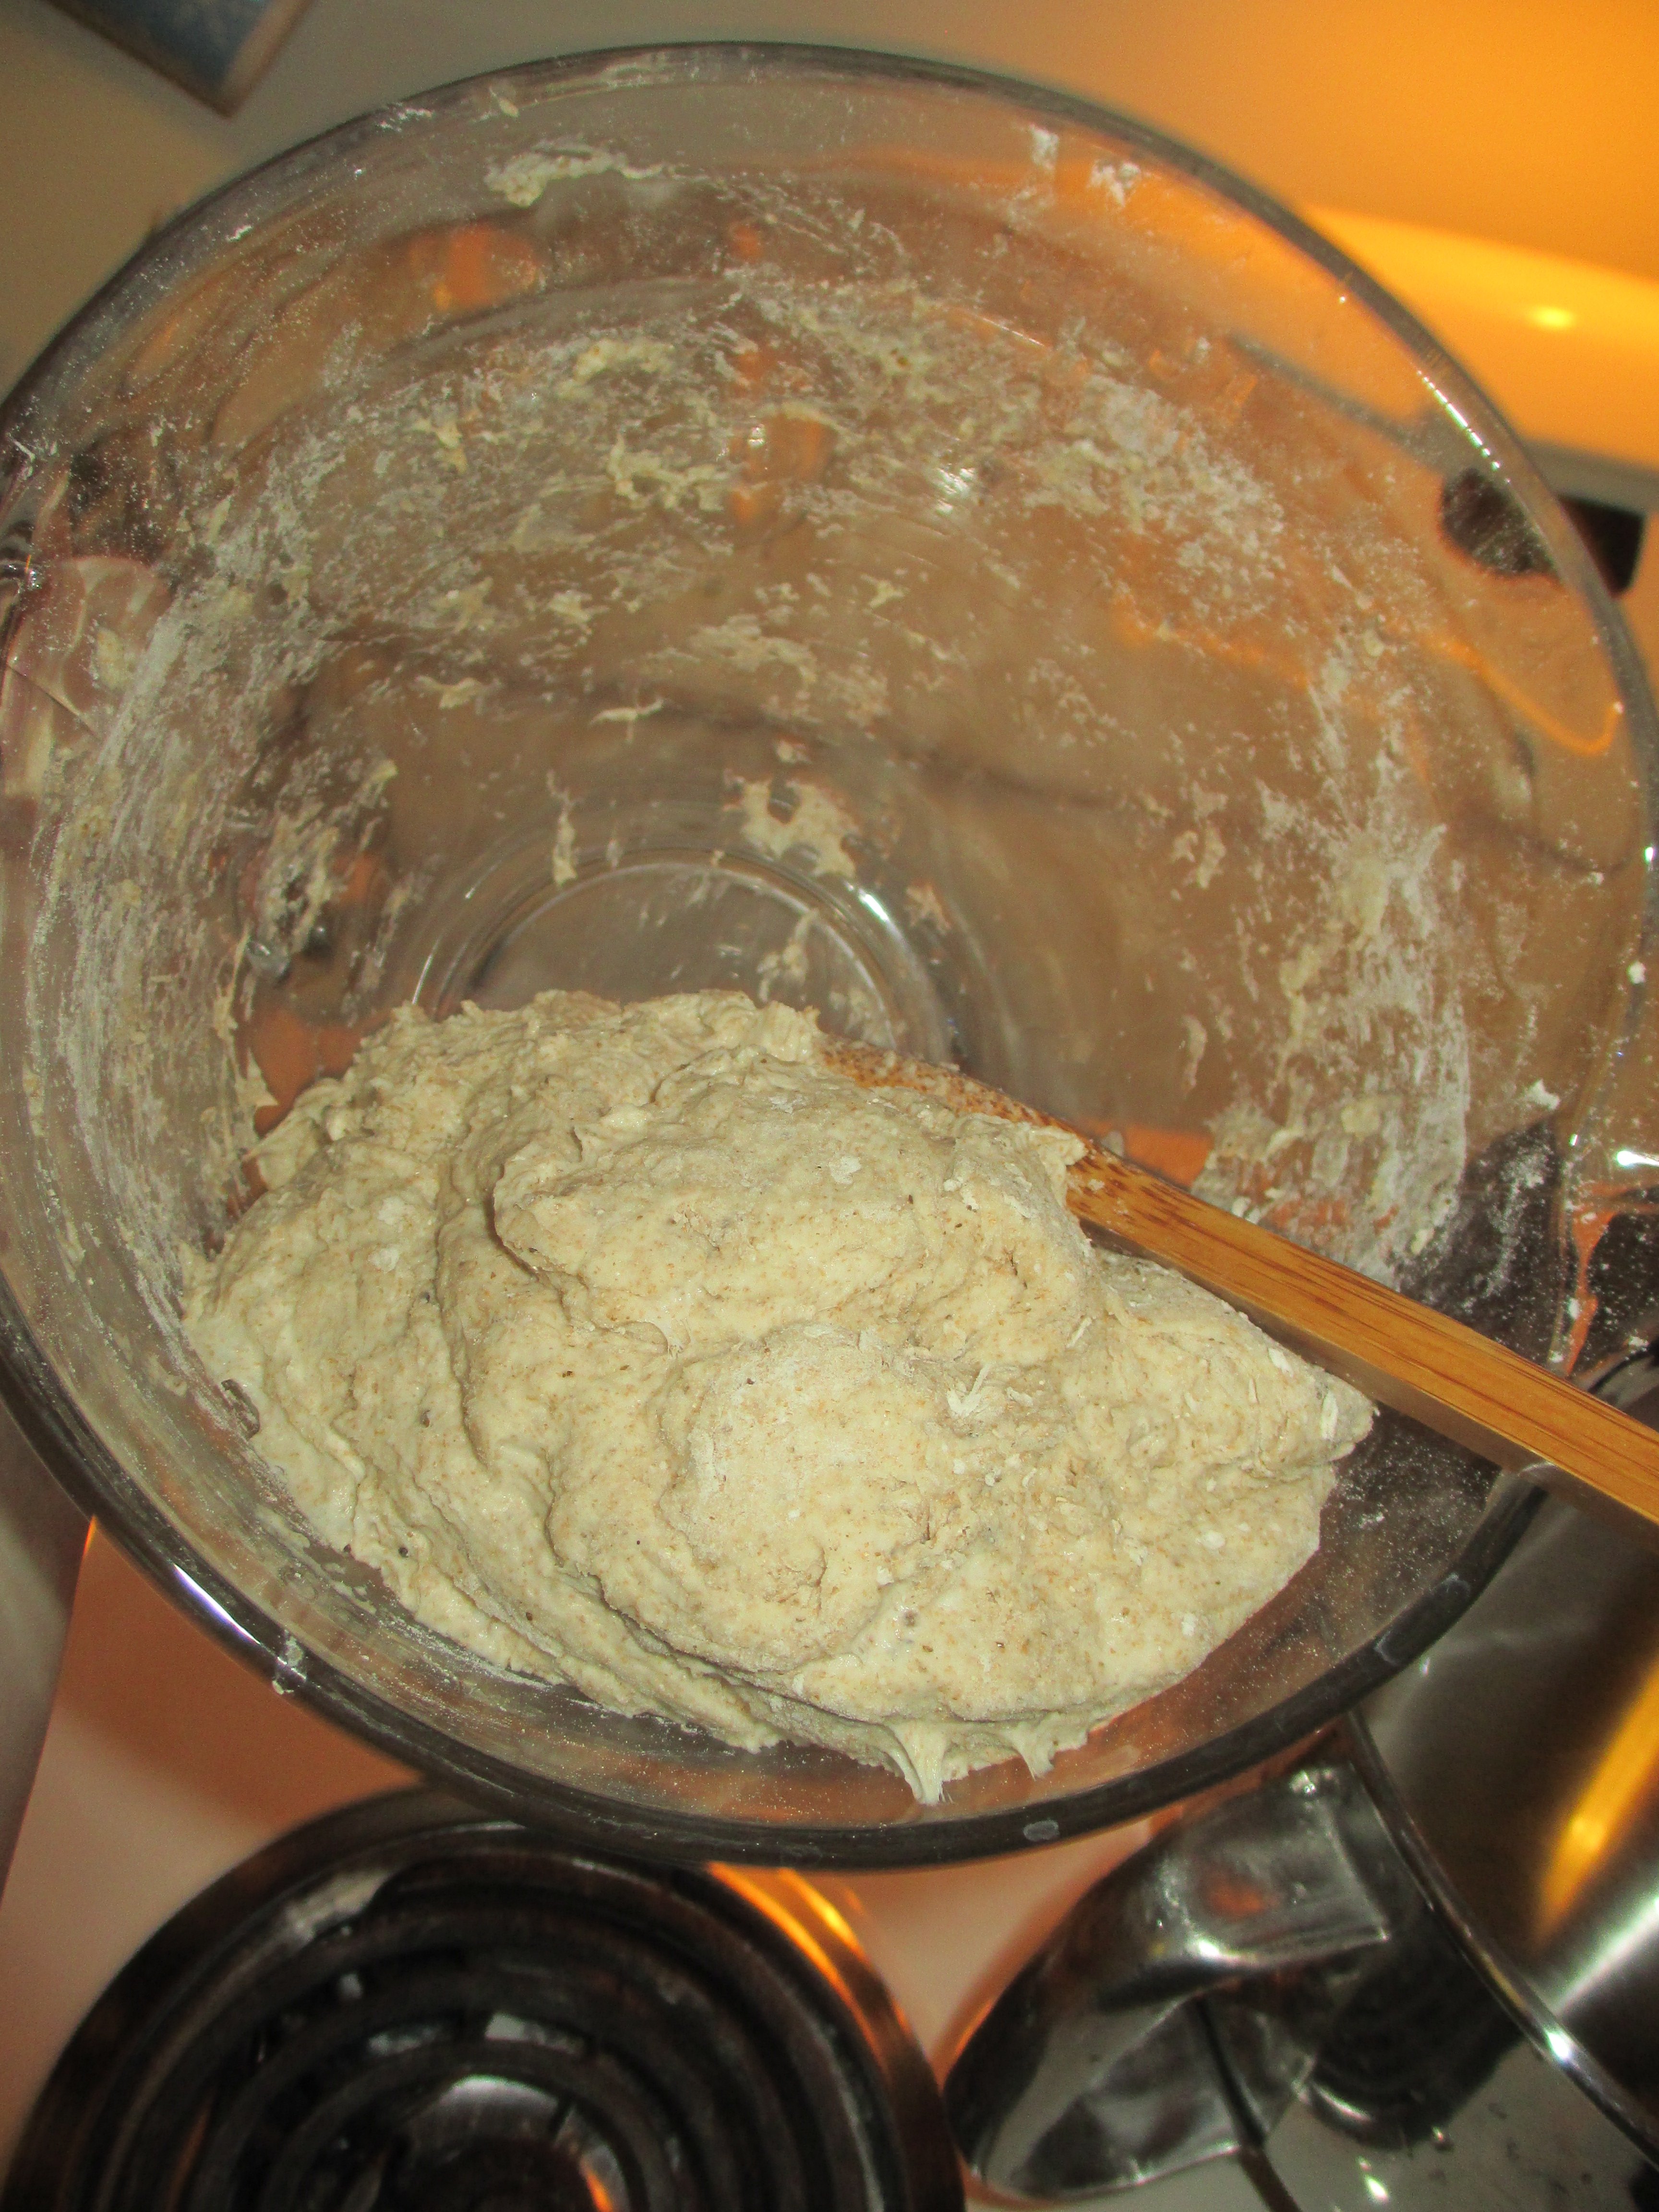
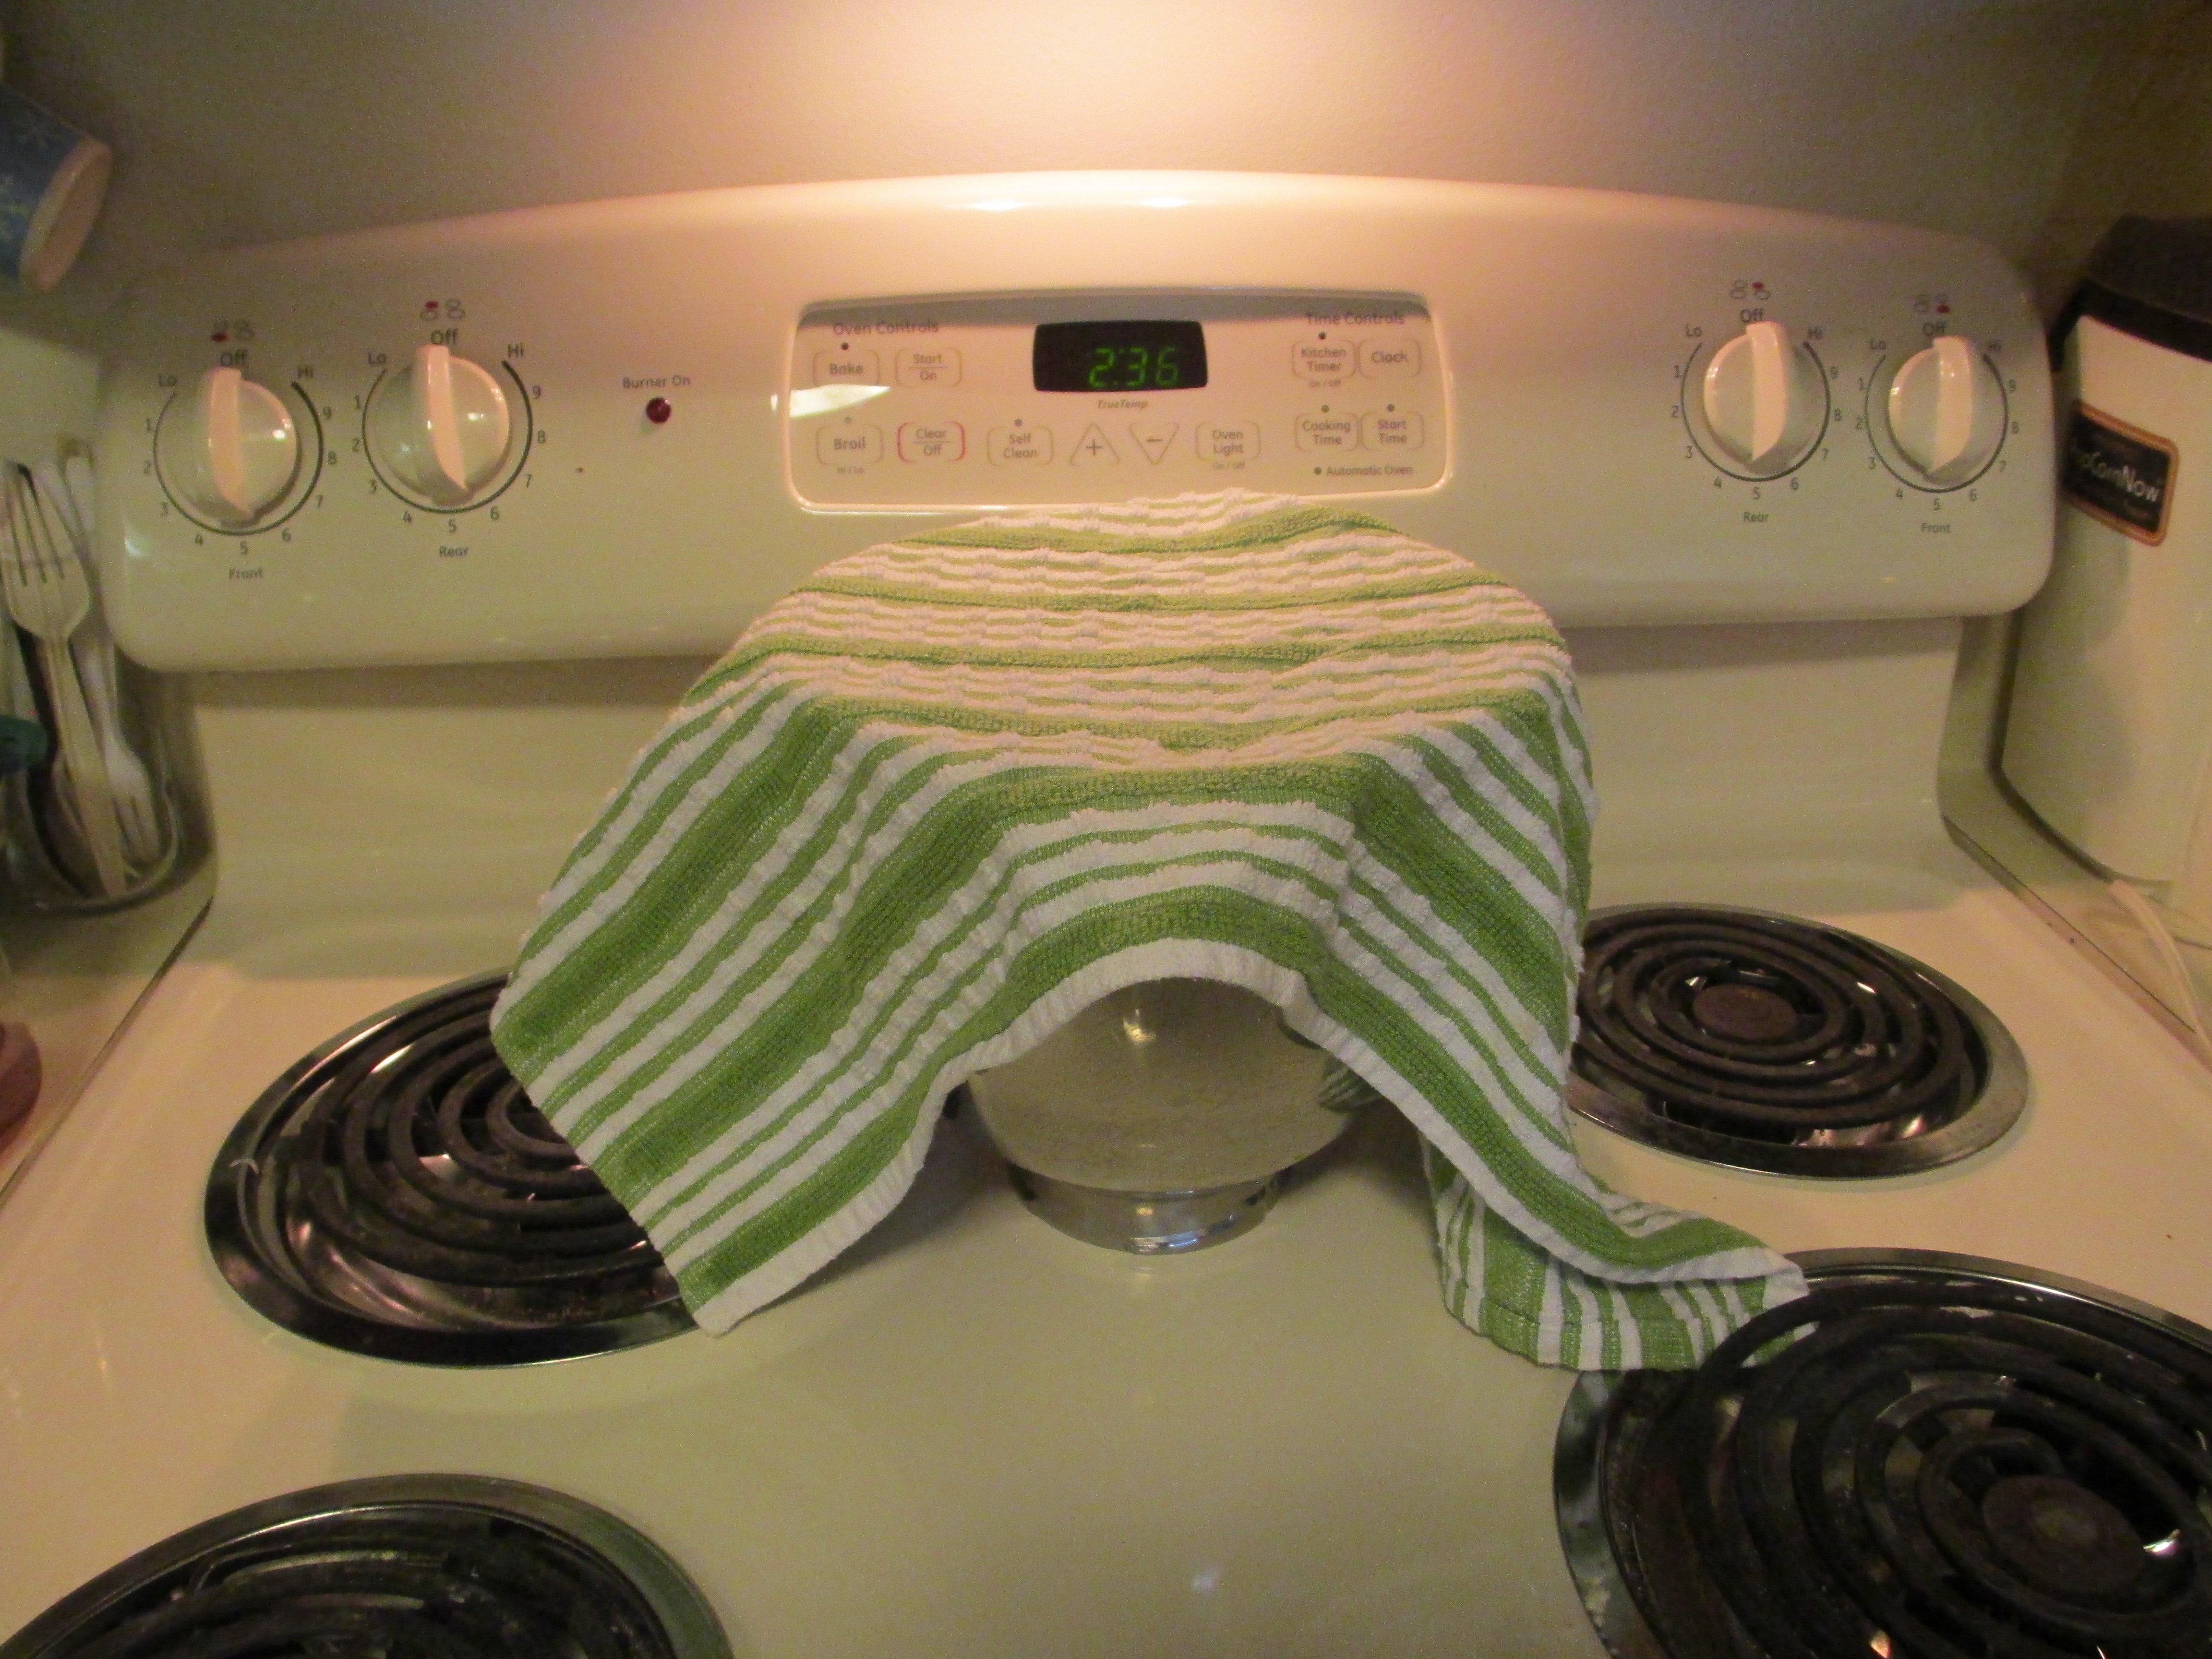
Scrape into a largish bowl and cover with a clean towel.
Let sit for 8-14 hours. (Don’t stress about how long, I’ve left it anywhere from 6 to 24 hours.)
Raised dough.
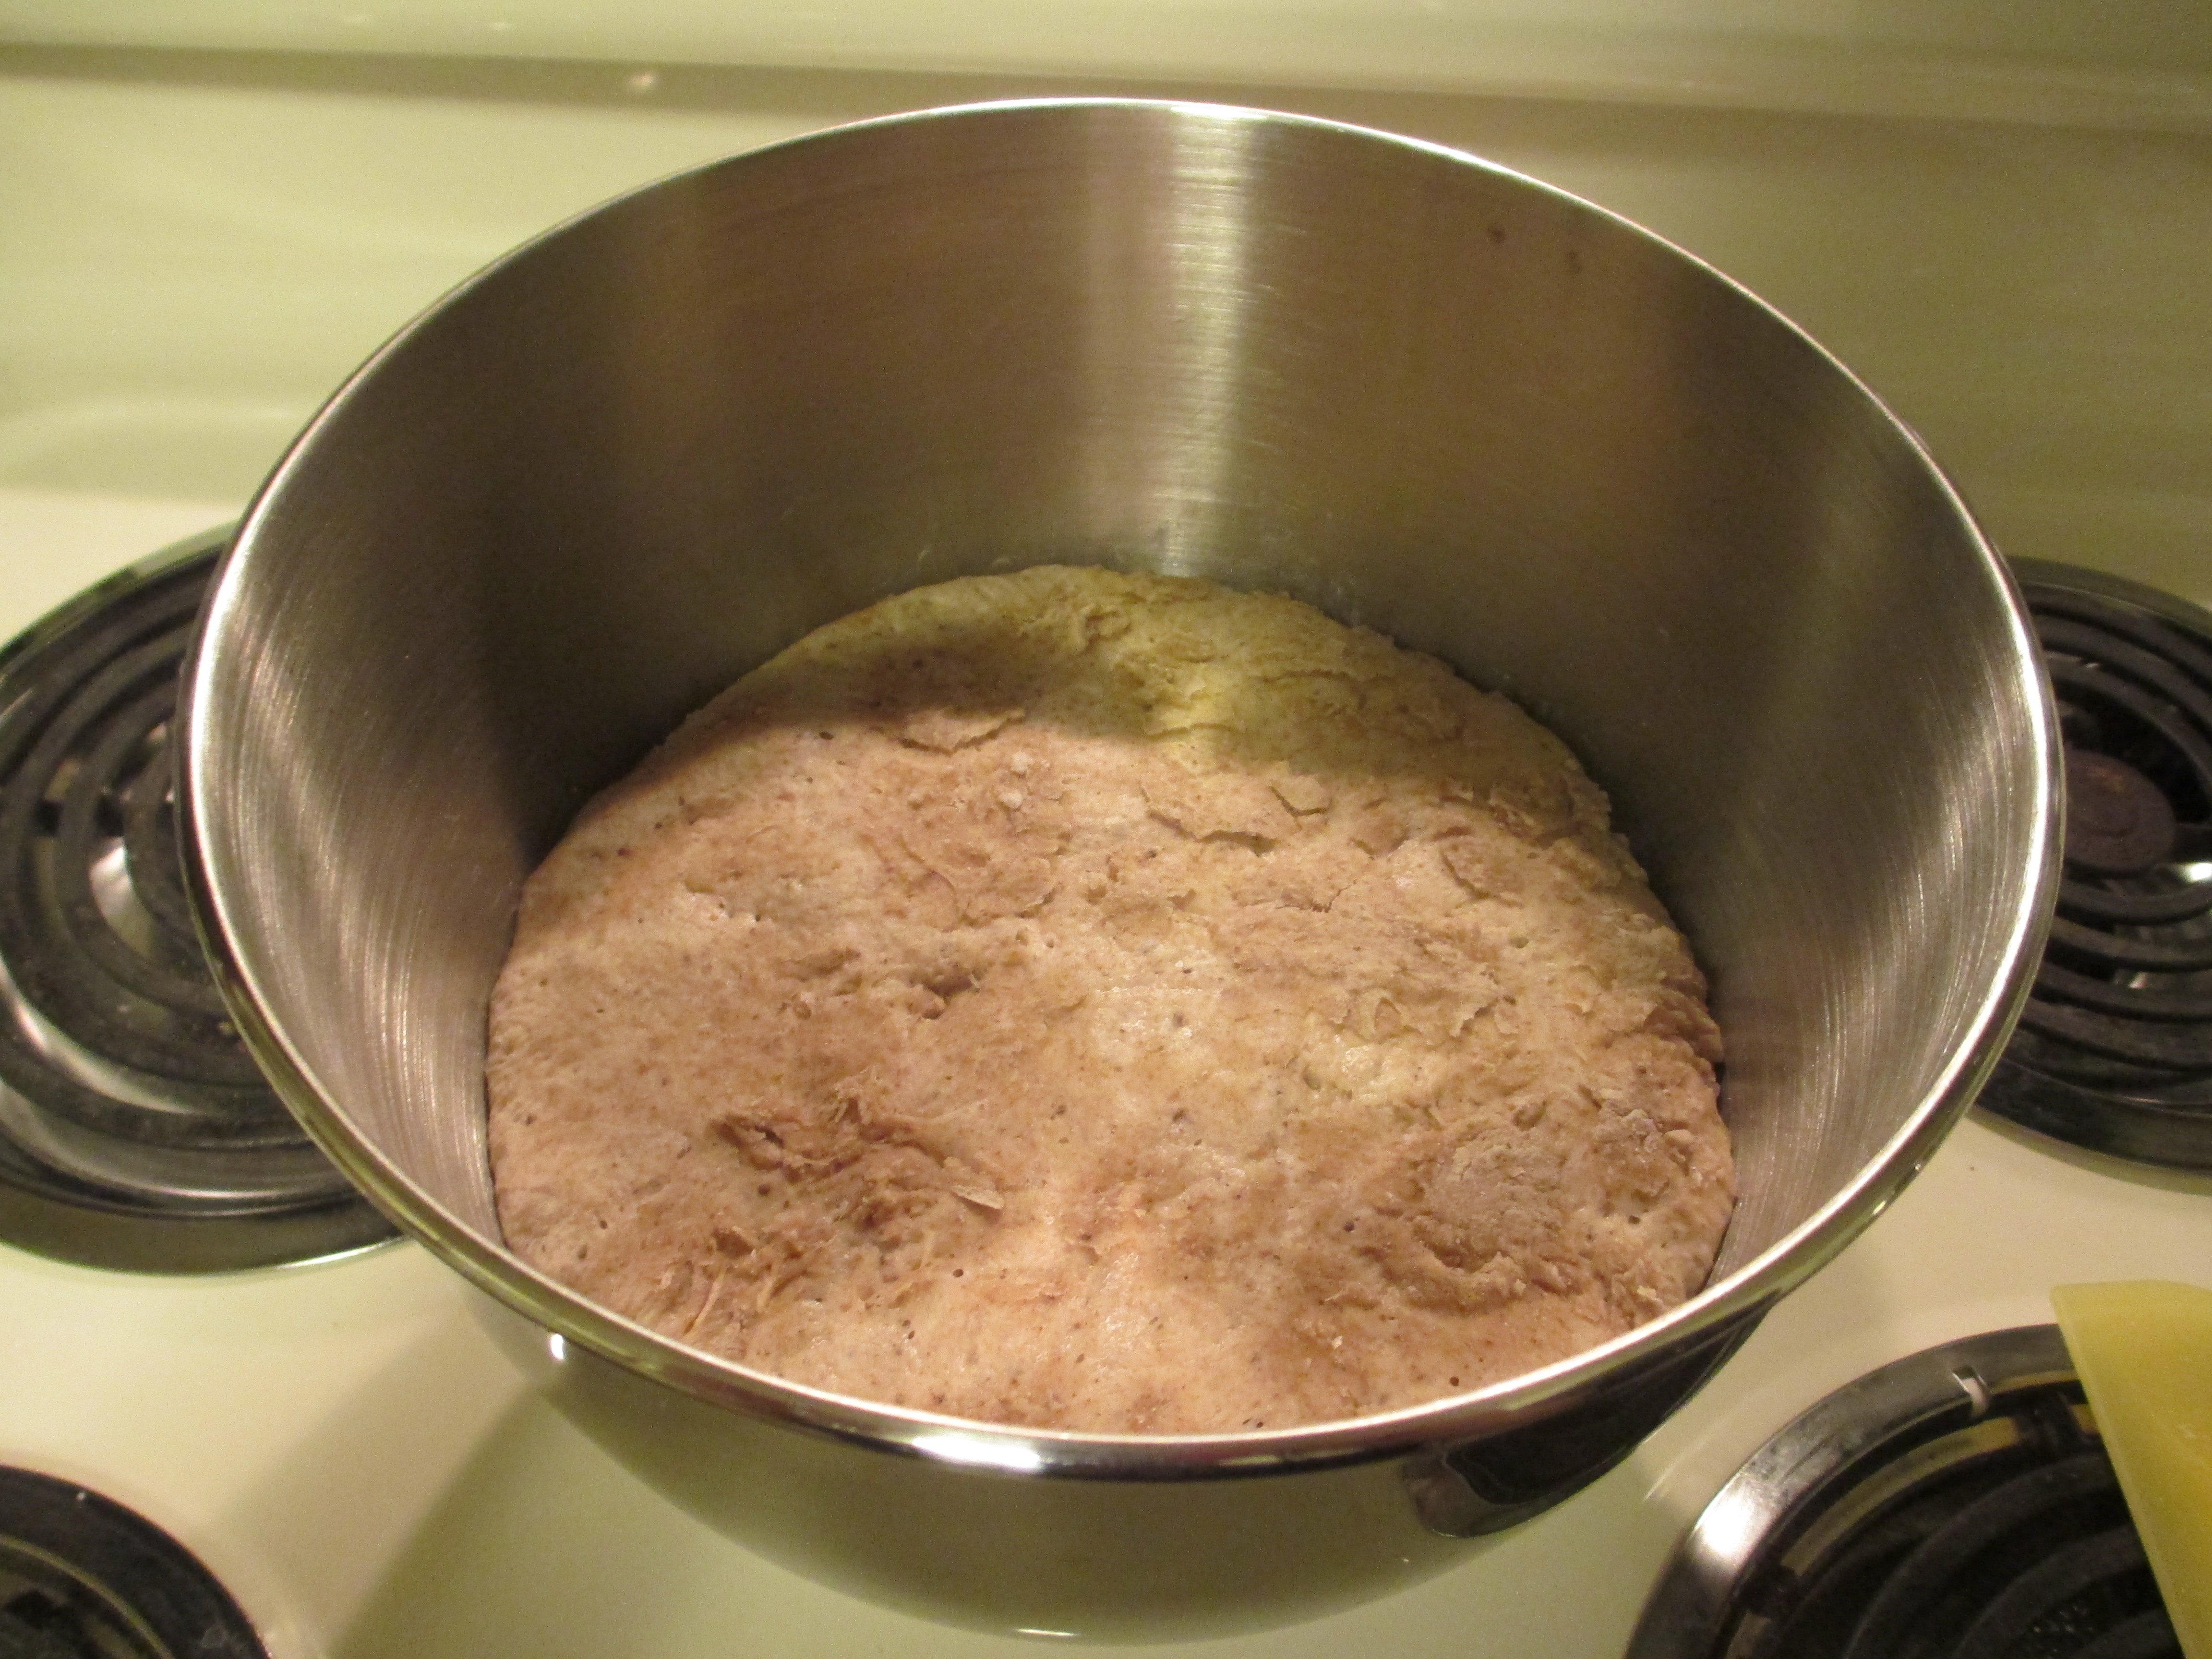
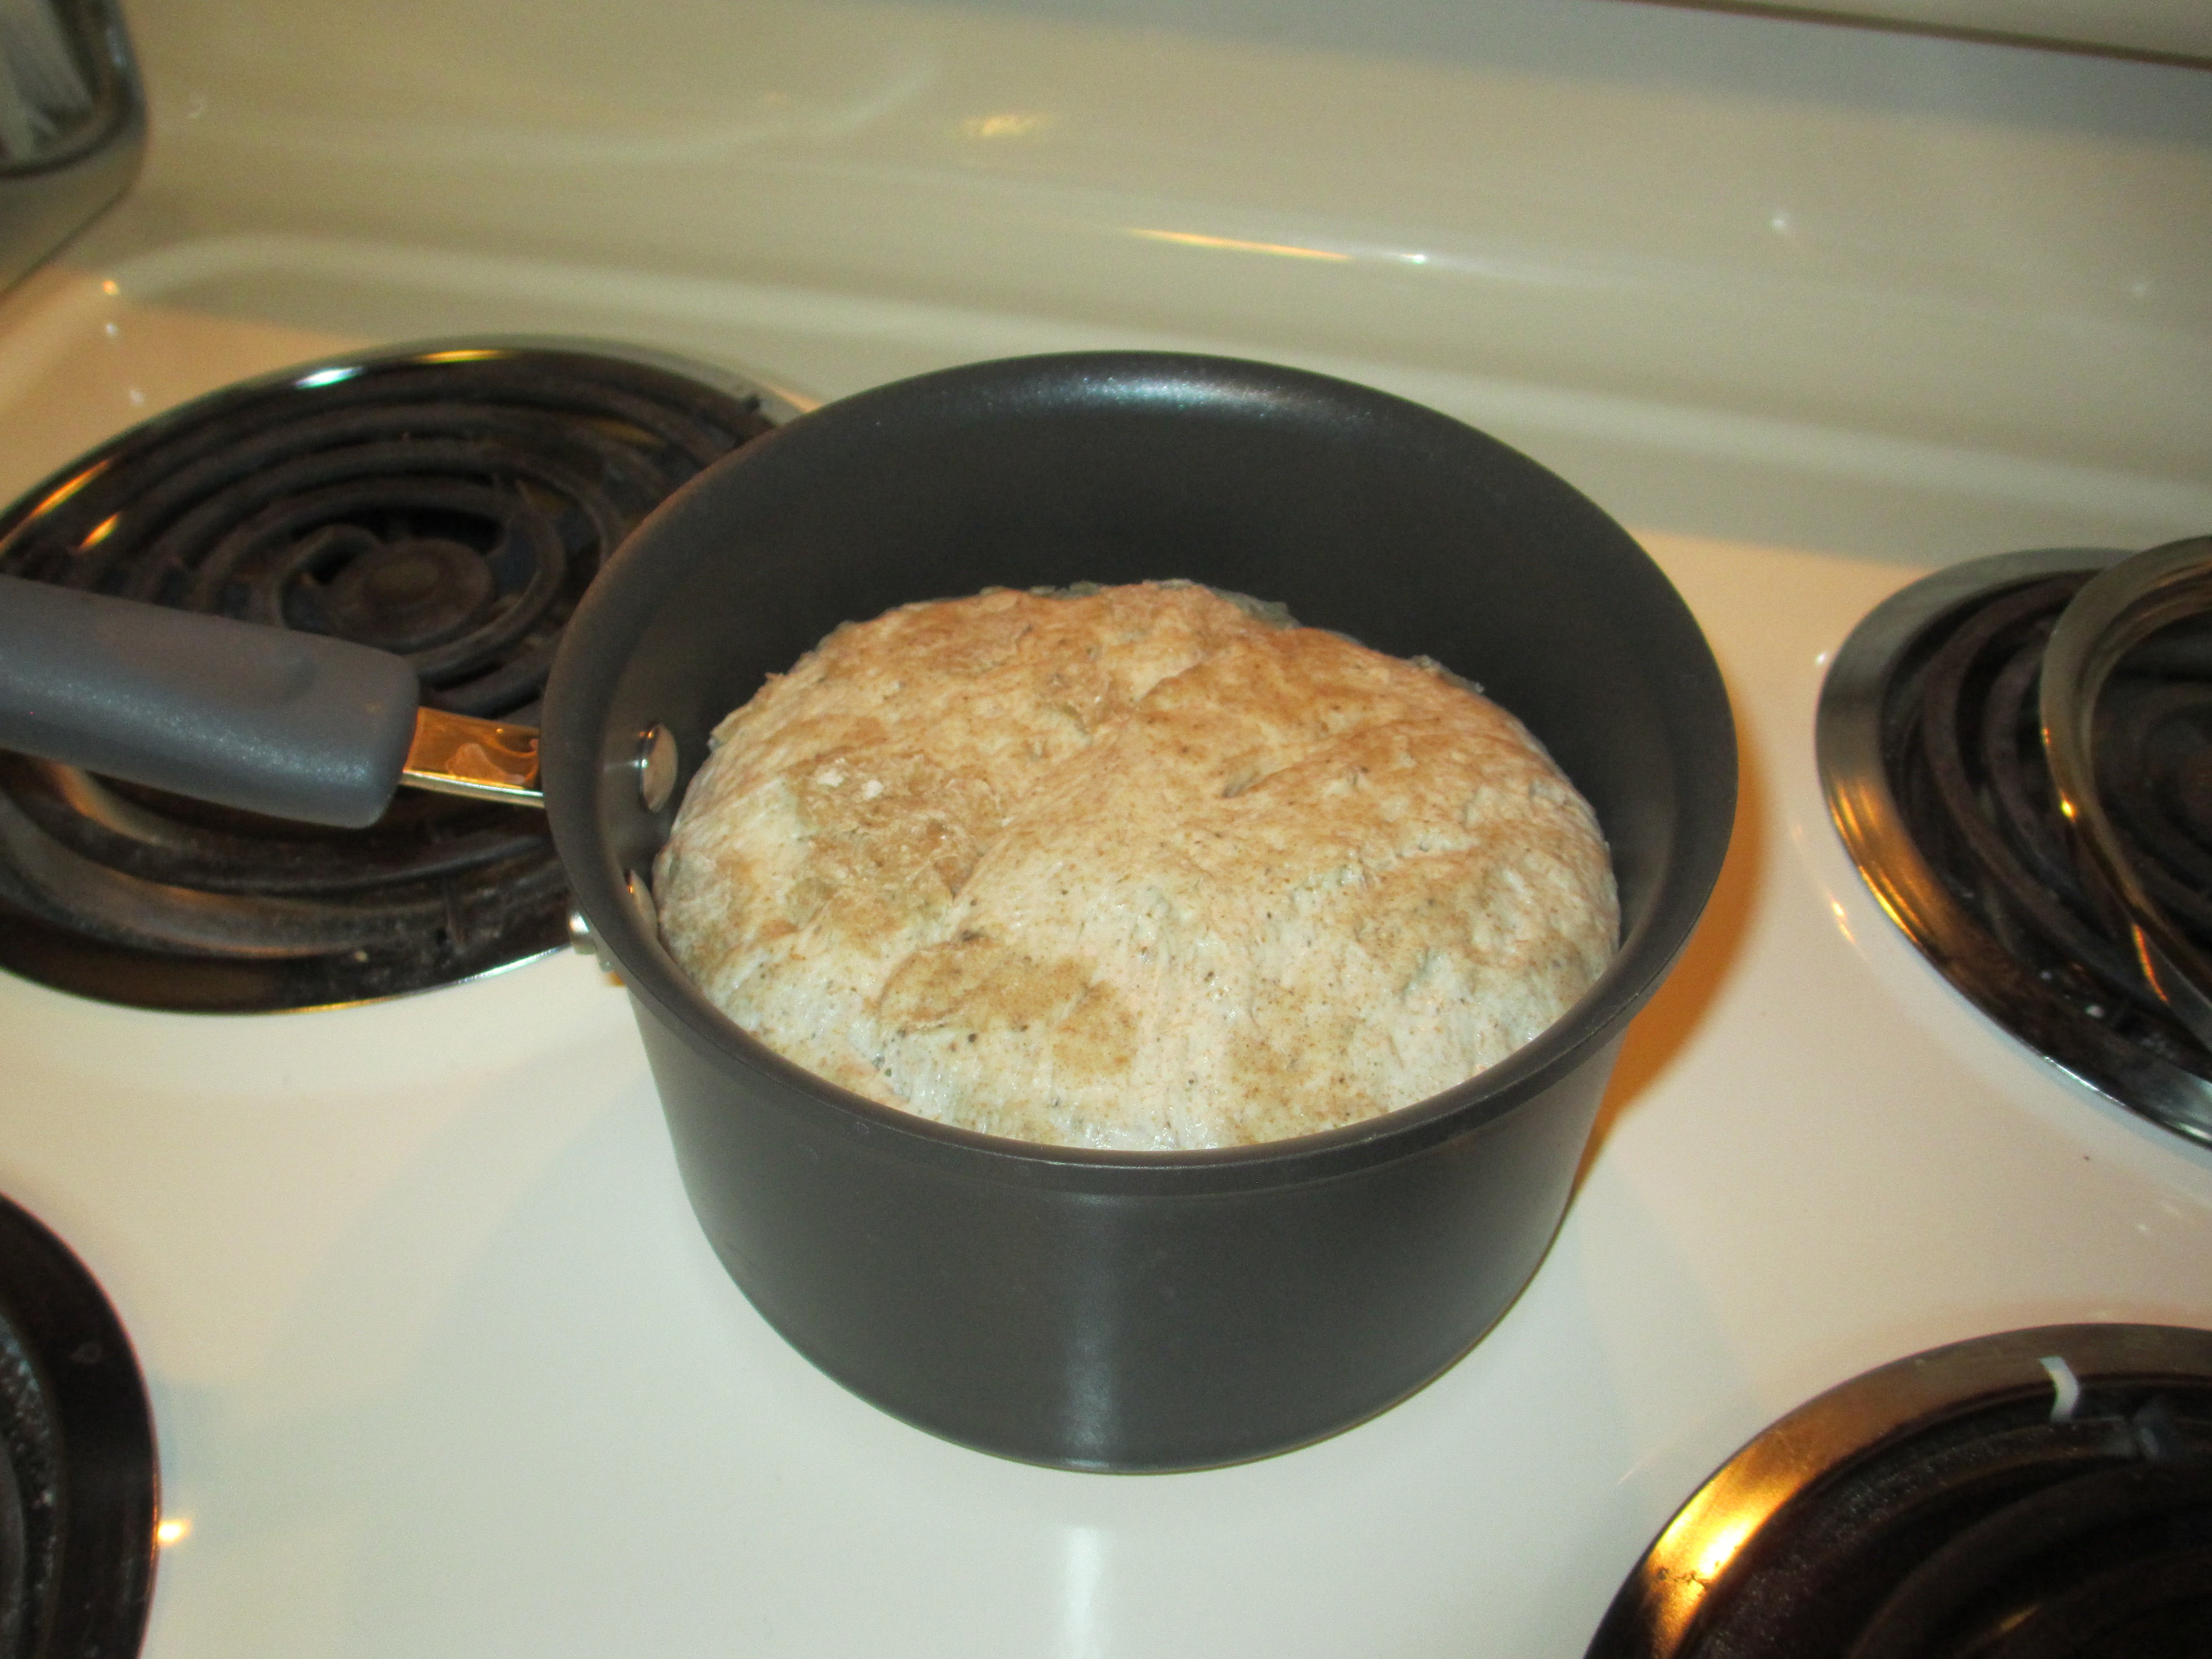
Dump it into an oven-safe cooking sauce pan. I have a 2 qt I like, but I have also had good results in a bigger pot – the bread is just wider and flatter.
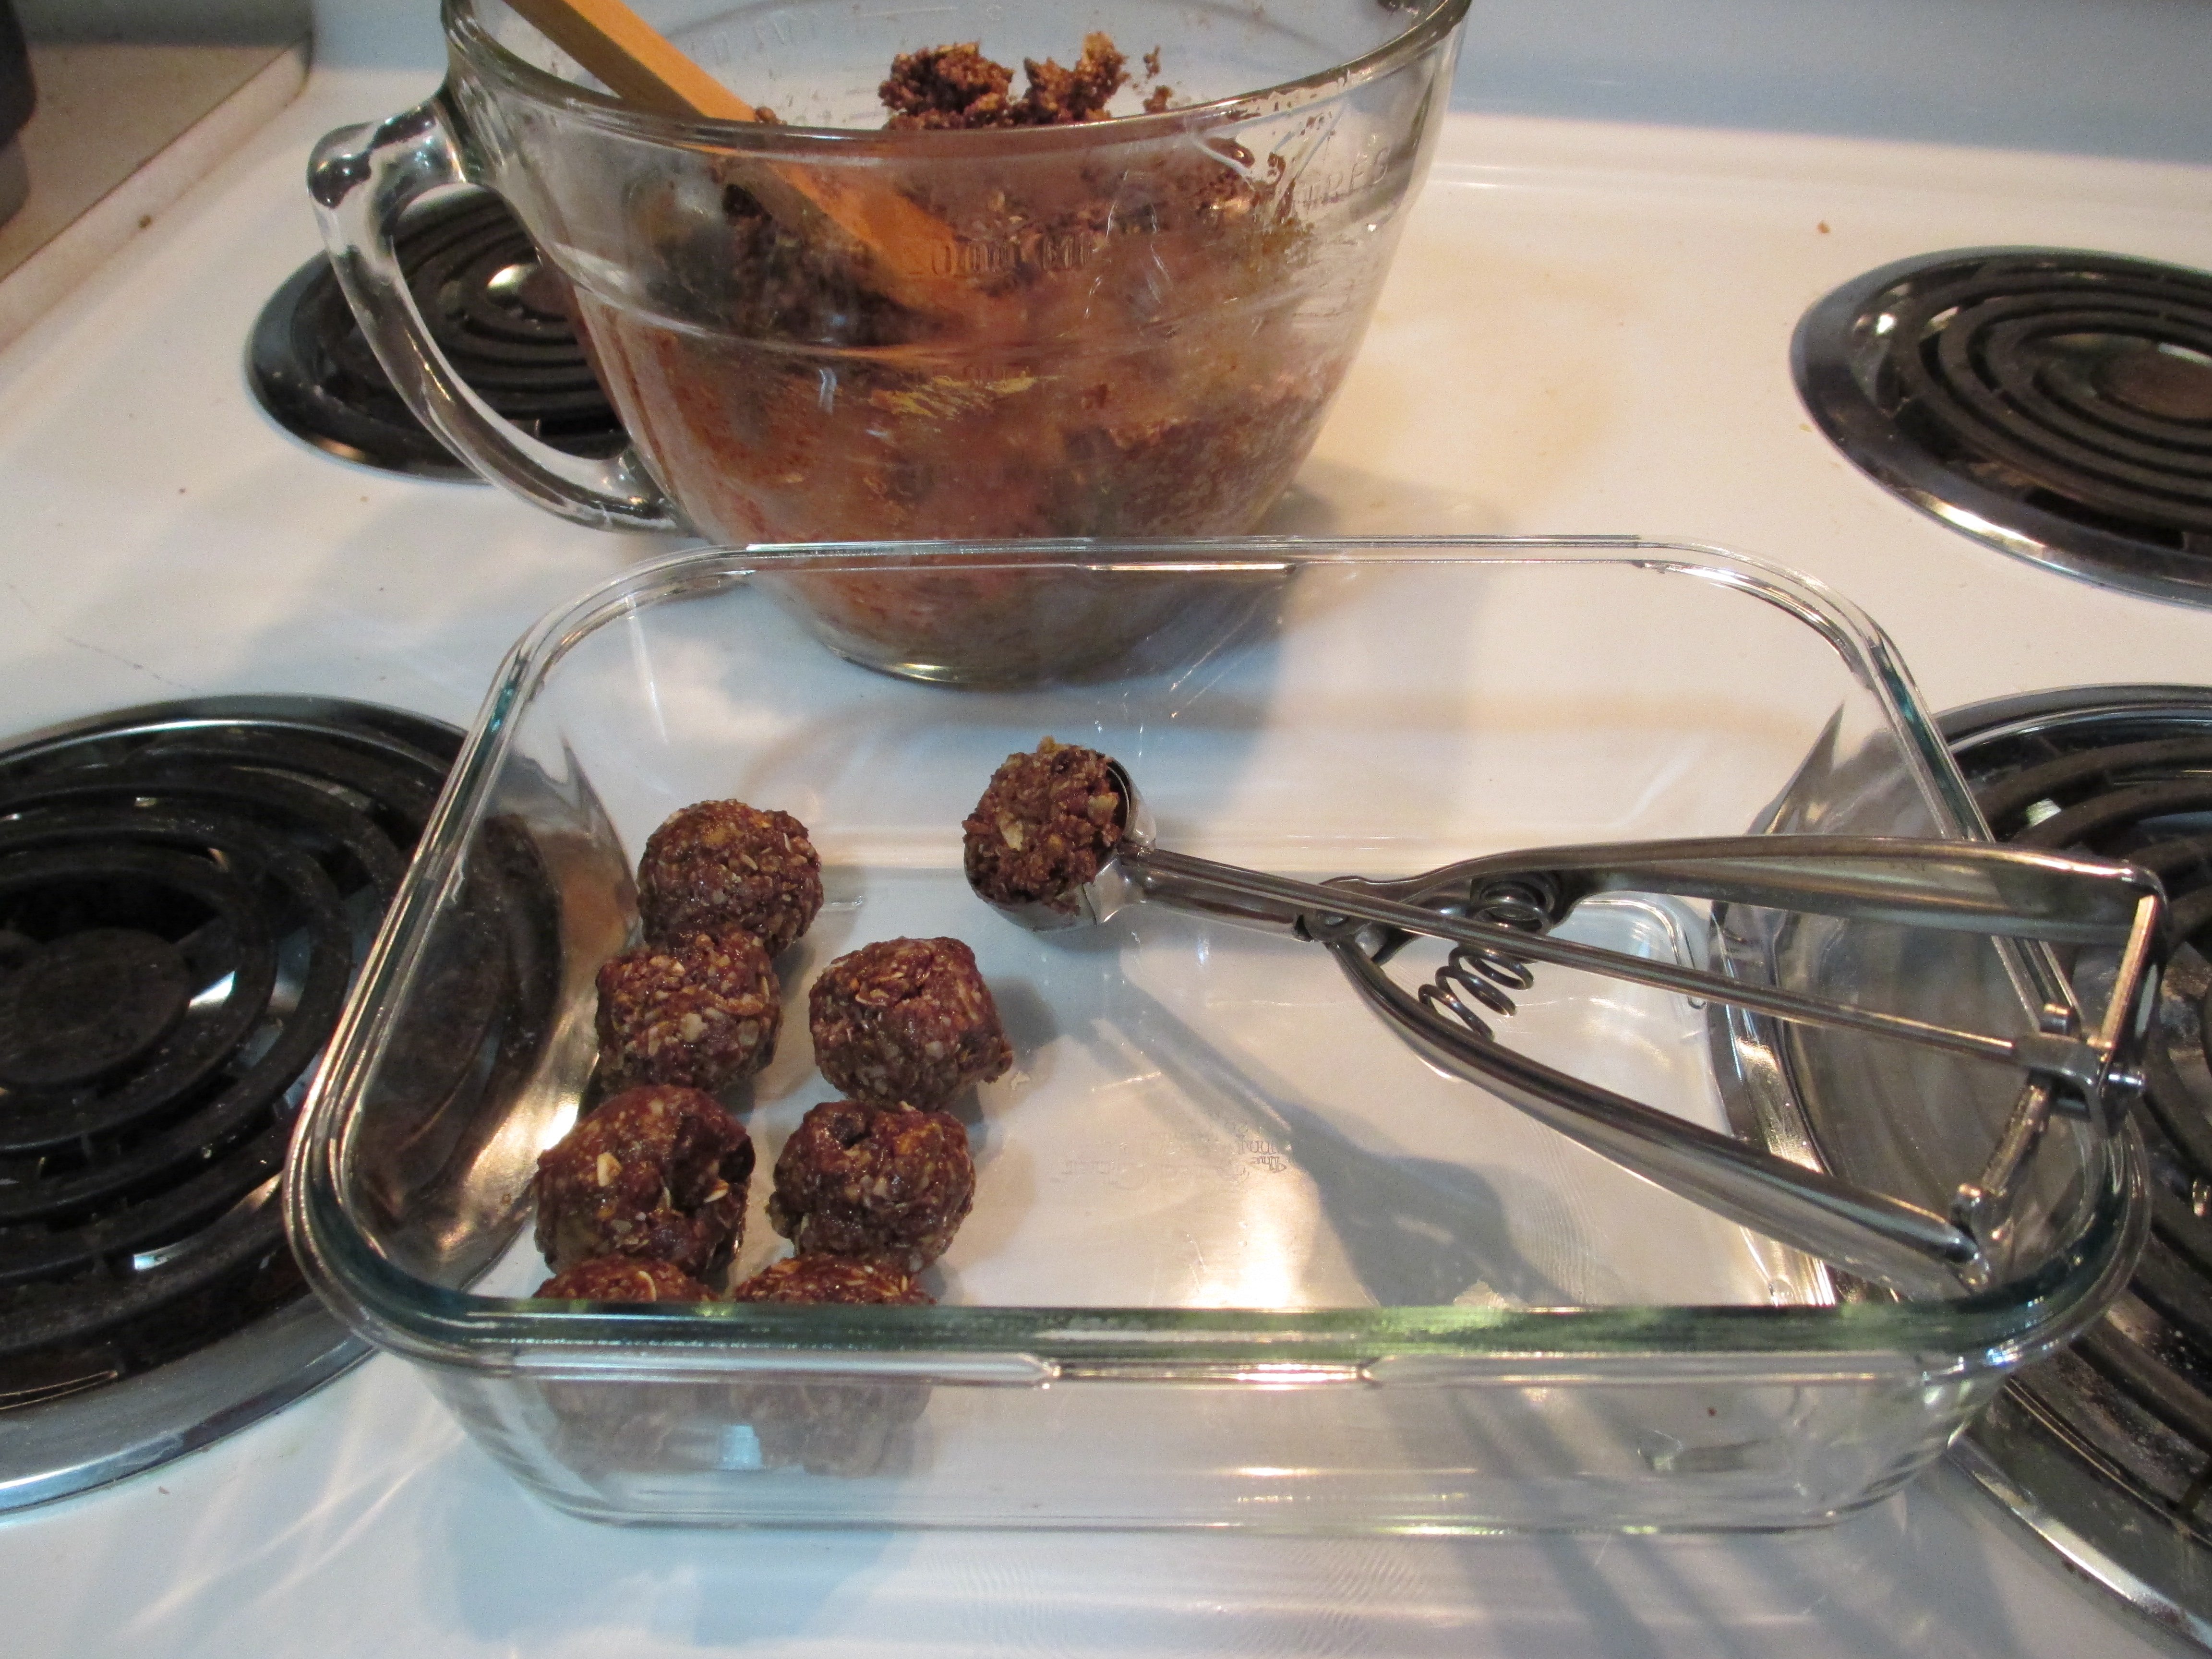
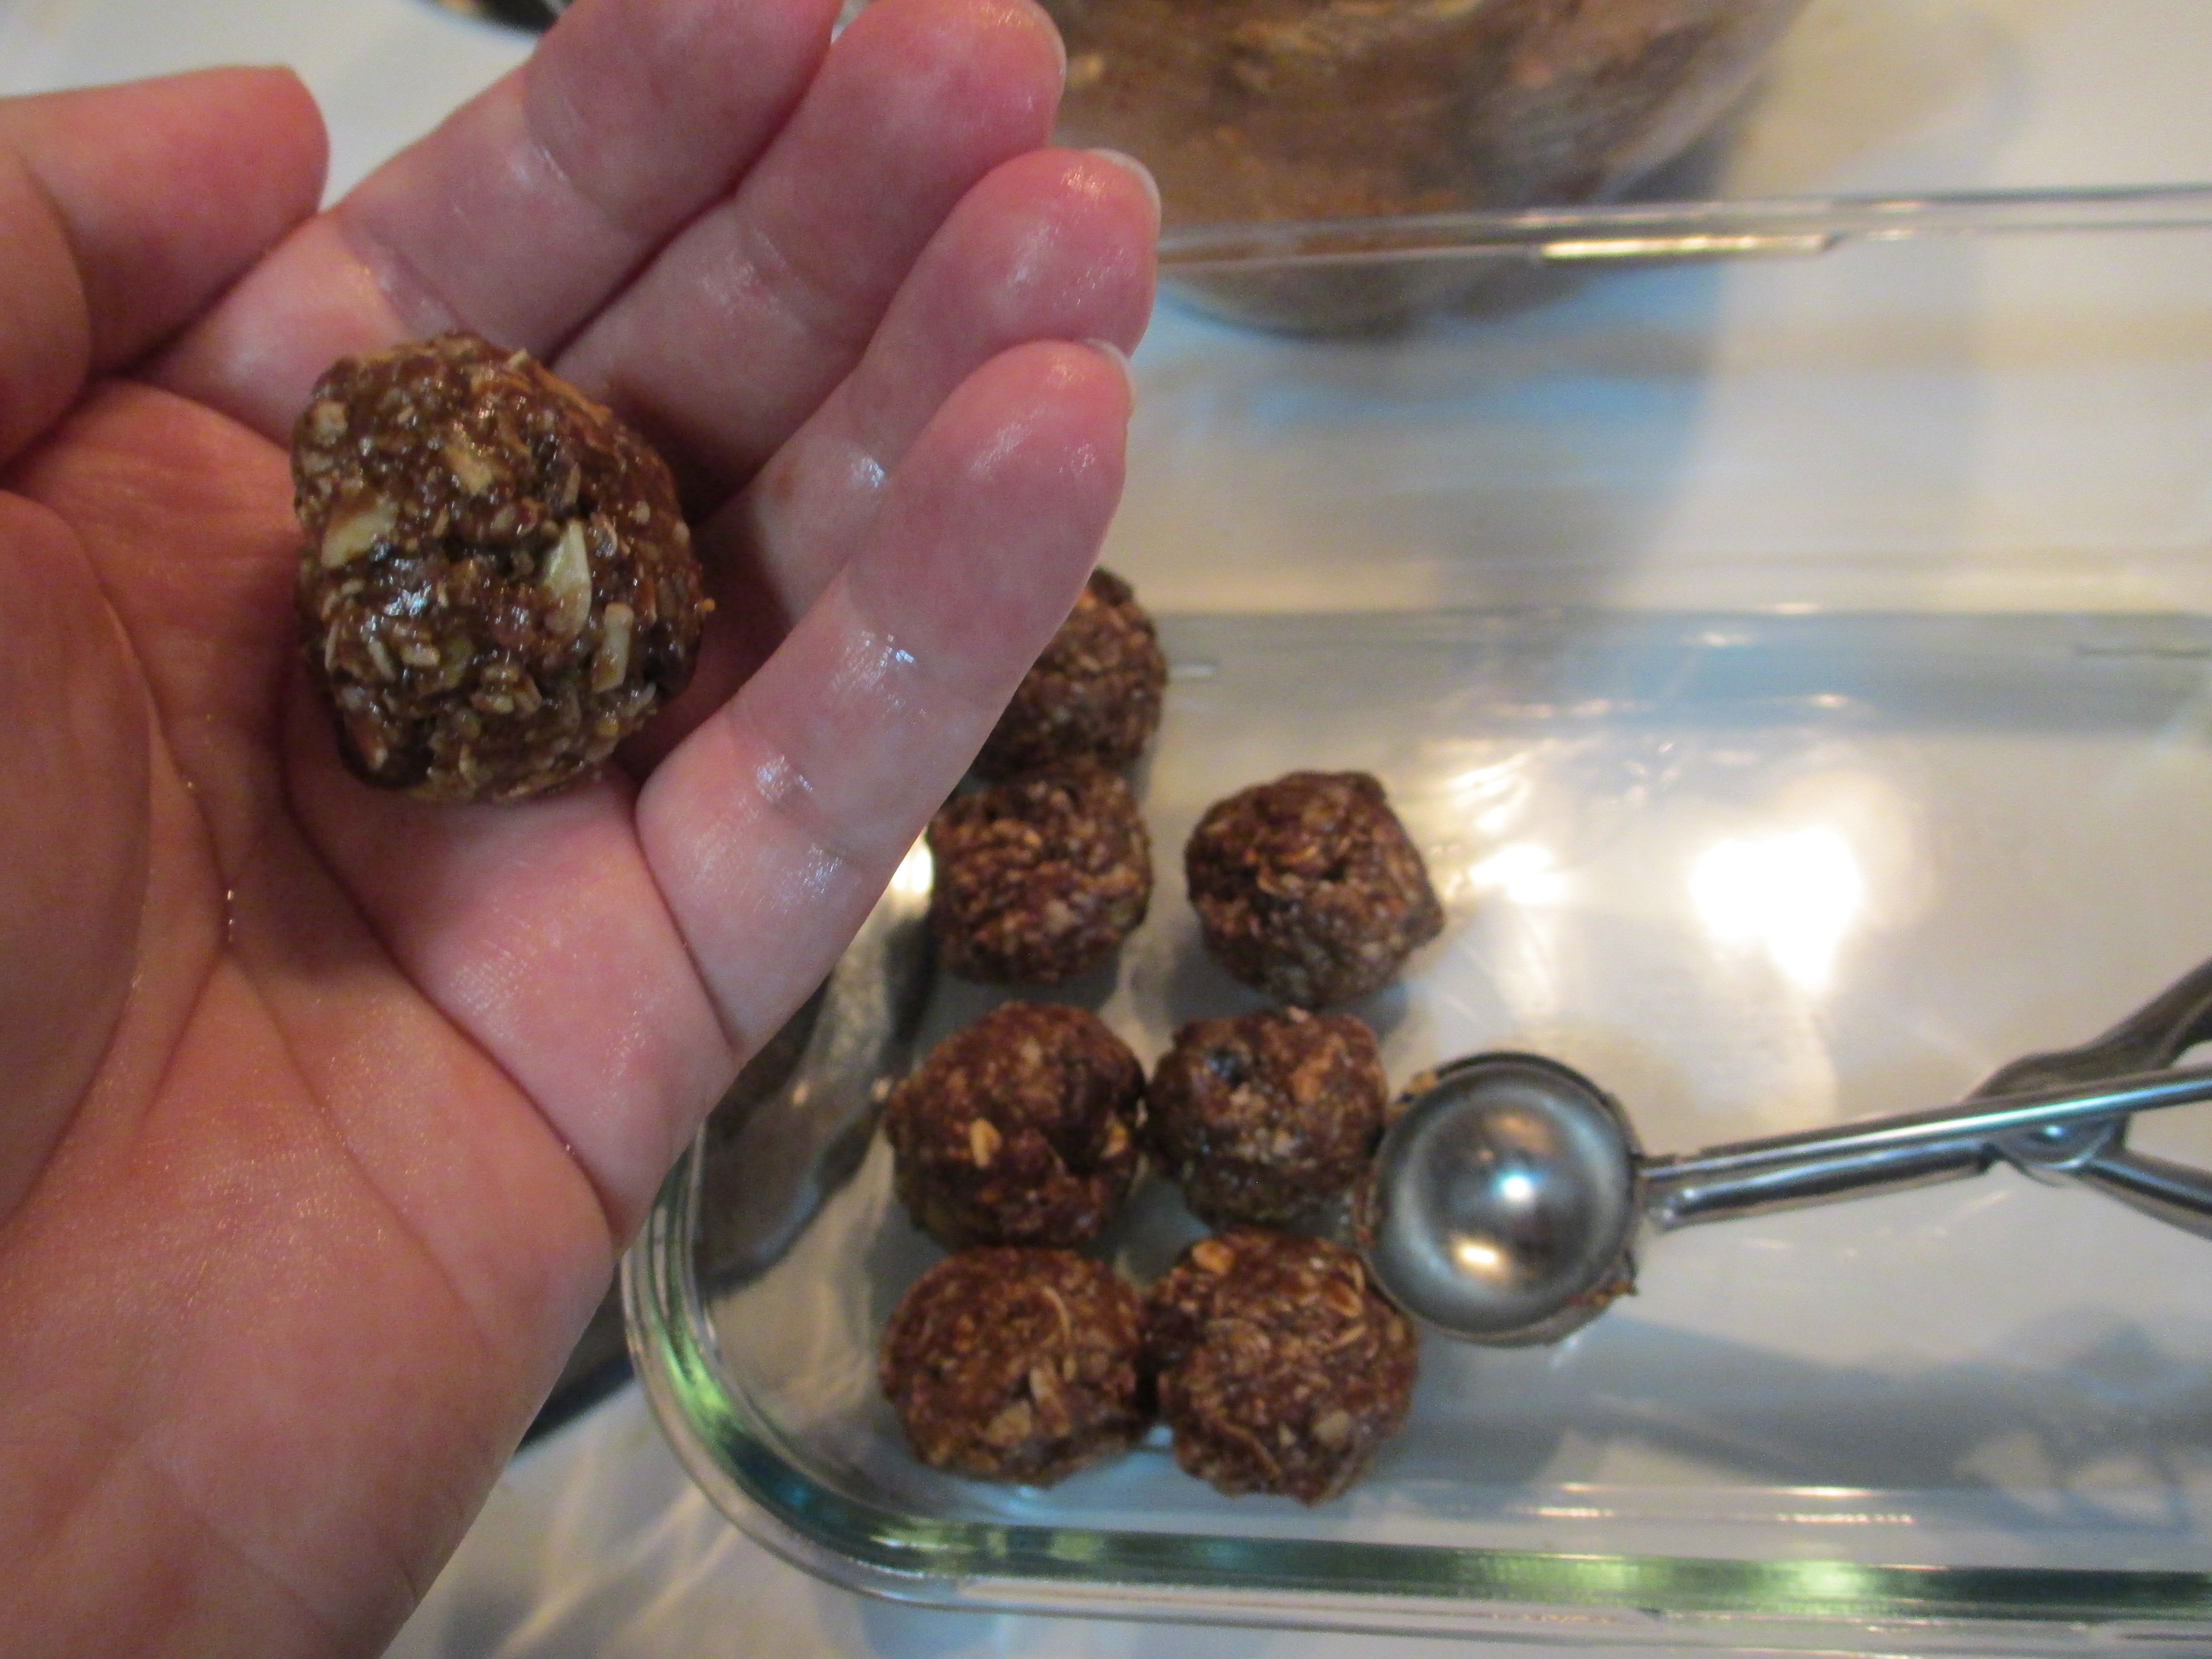
I use a spatula to scrape down the sides, nudge it into a ball, then roll it into the pot.
Let rise another 30min – 2 hours.
Preheat oven to 425 degrees. Factor preheat time into the last rise time – leave the bread on top of the oven where it is nice and warm.
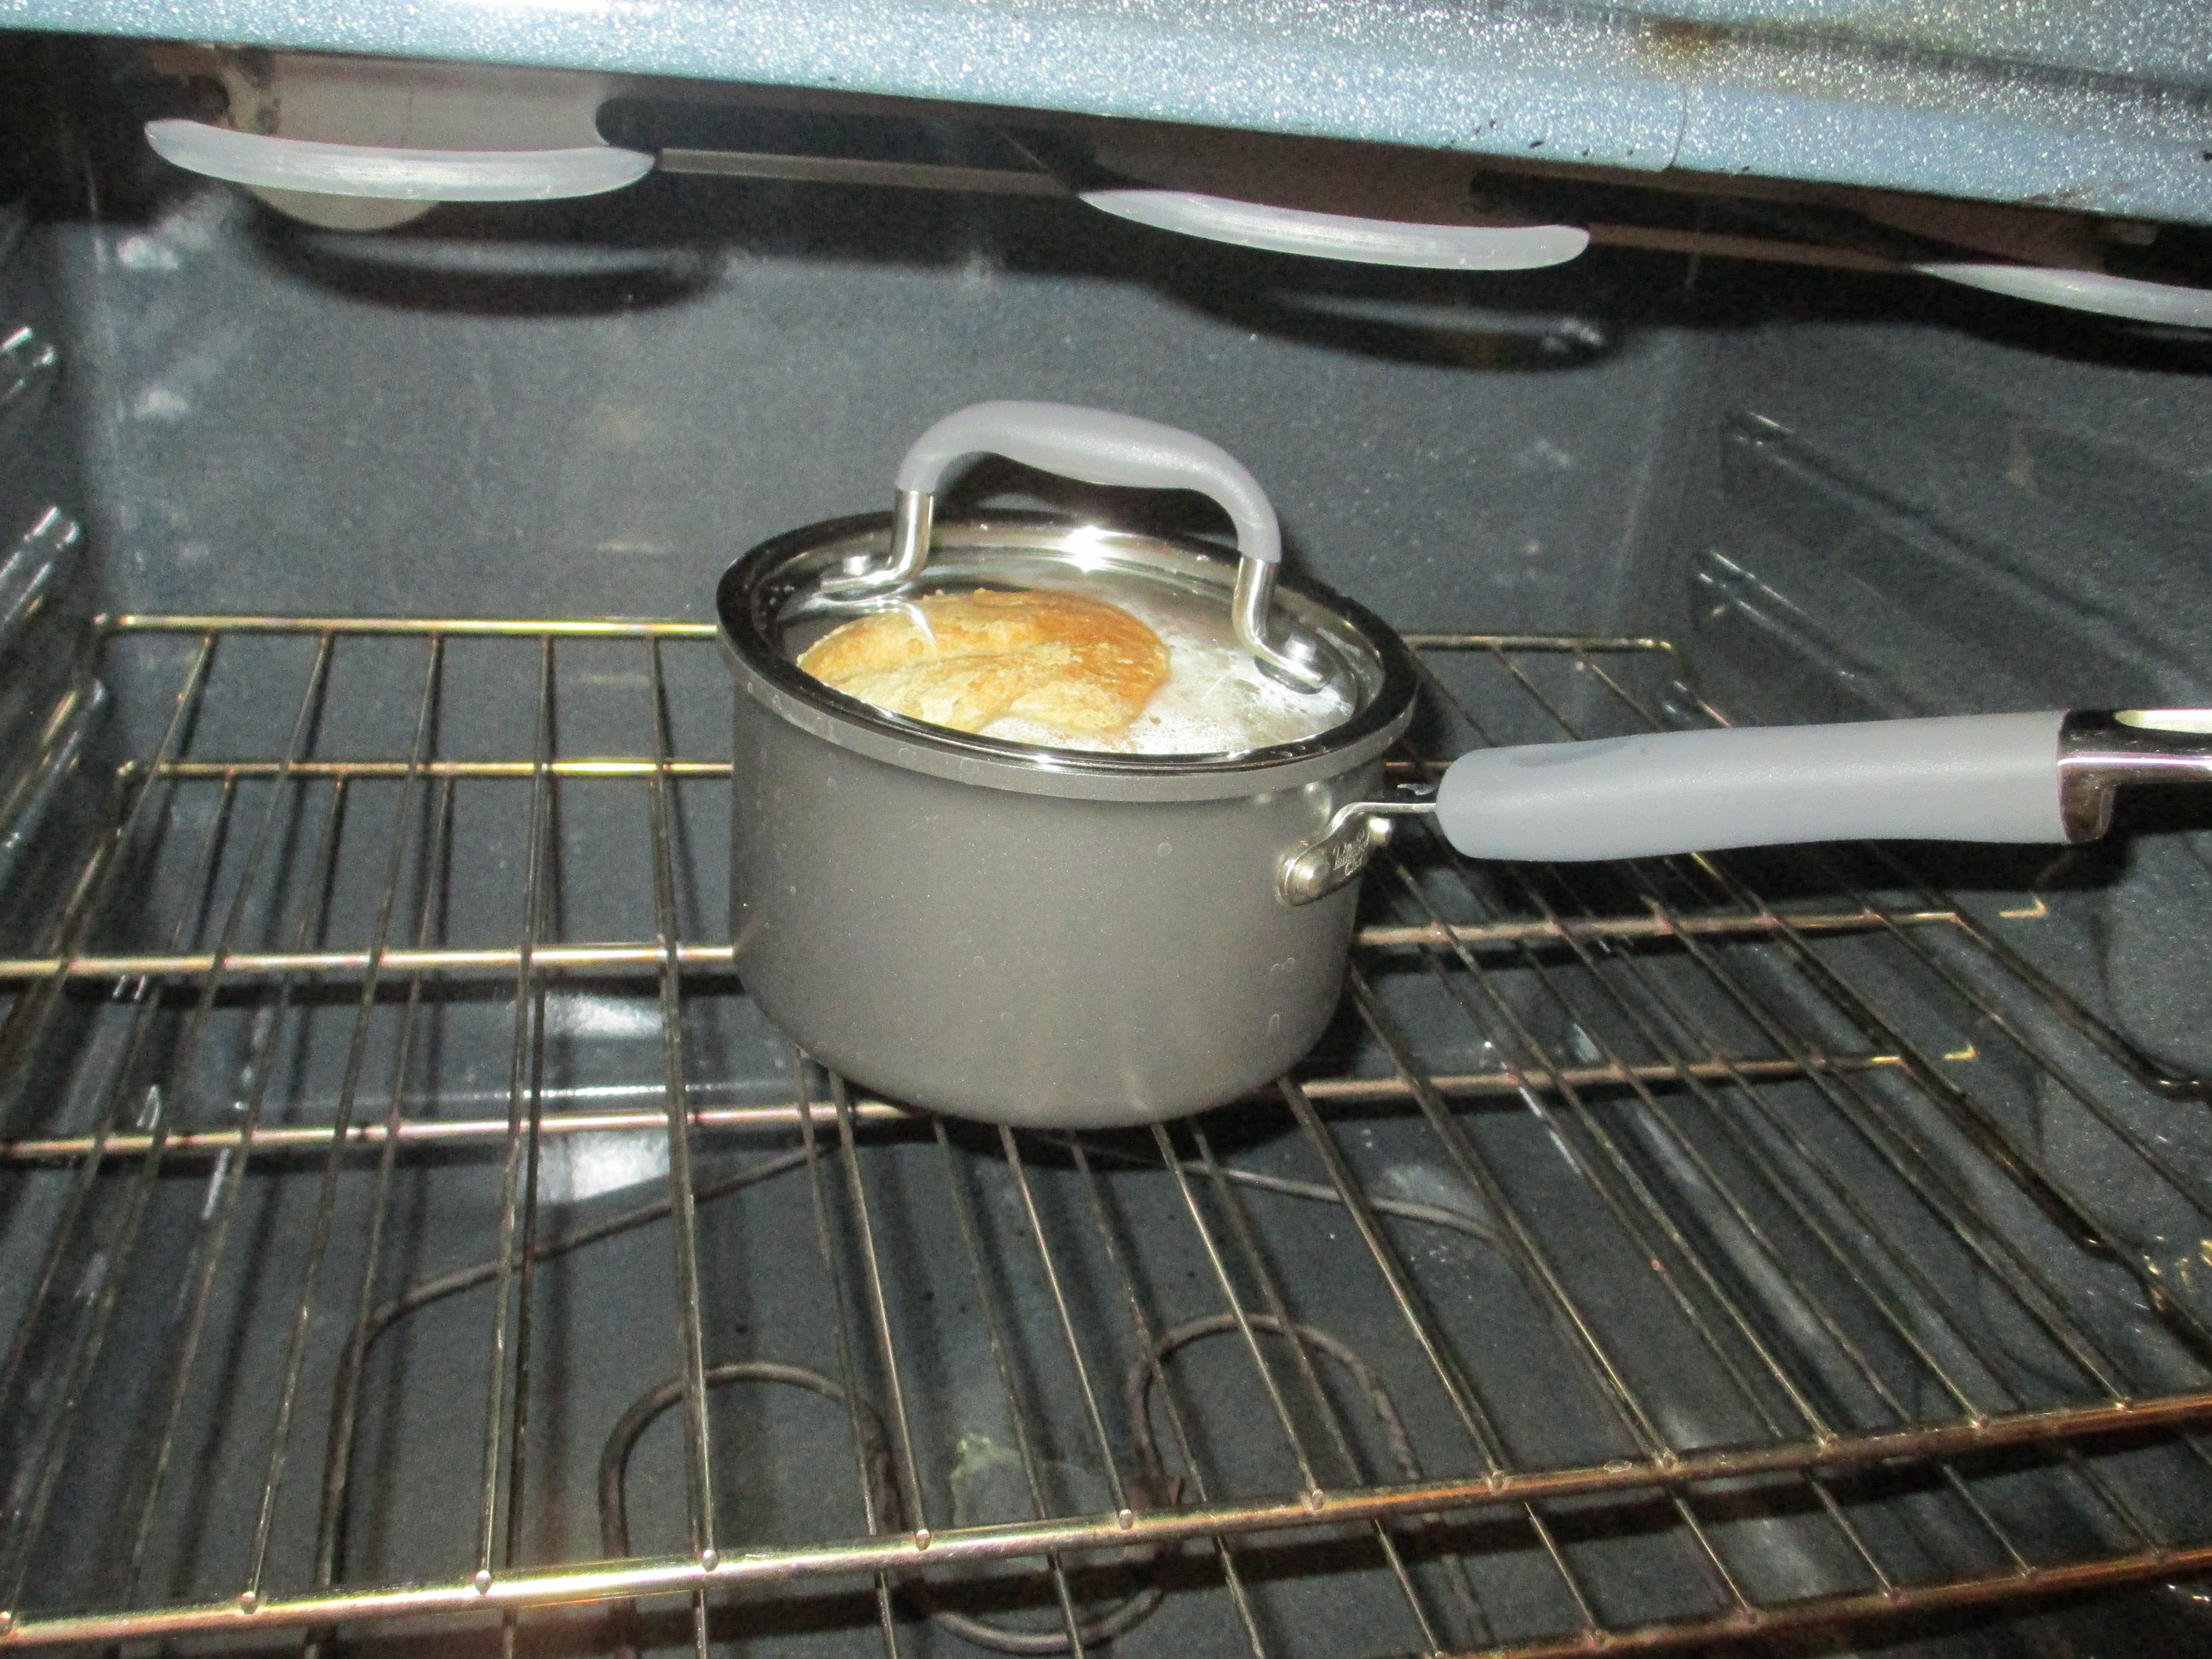
Bake 20 minutes.
Put lid on the pot, bake for 10 more minutes.
Remove from oven.
REMEMBER: You just took that pot out of the oven, so the handle is hot too! Gordan Ramsey recently advised one of the kids on Master Chef Jr. to sprinkle some flour or salt on the handle of the pot so you remember not to touch it.
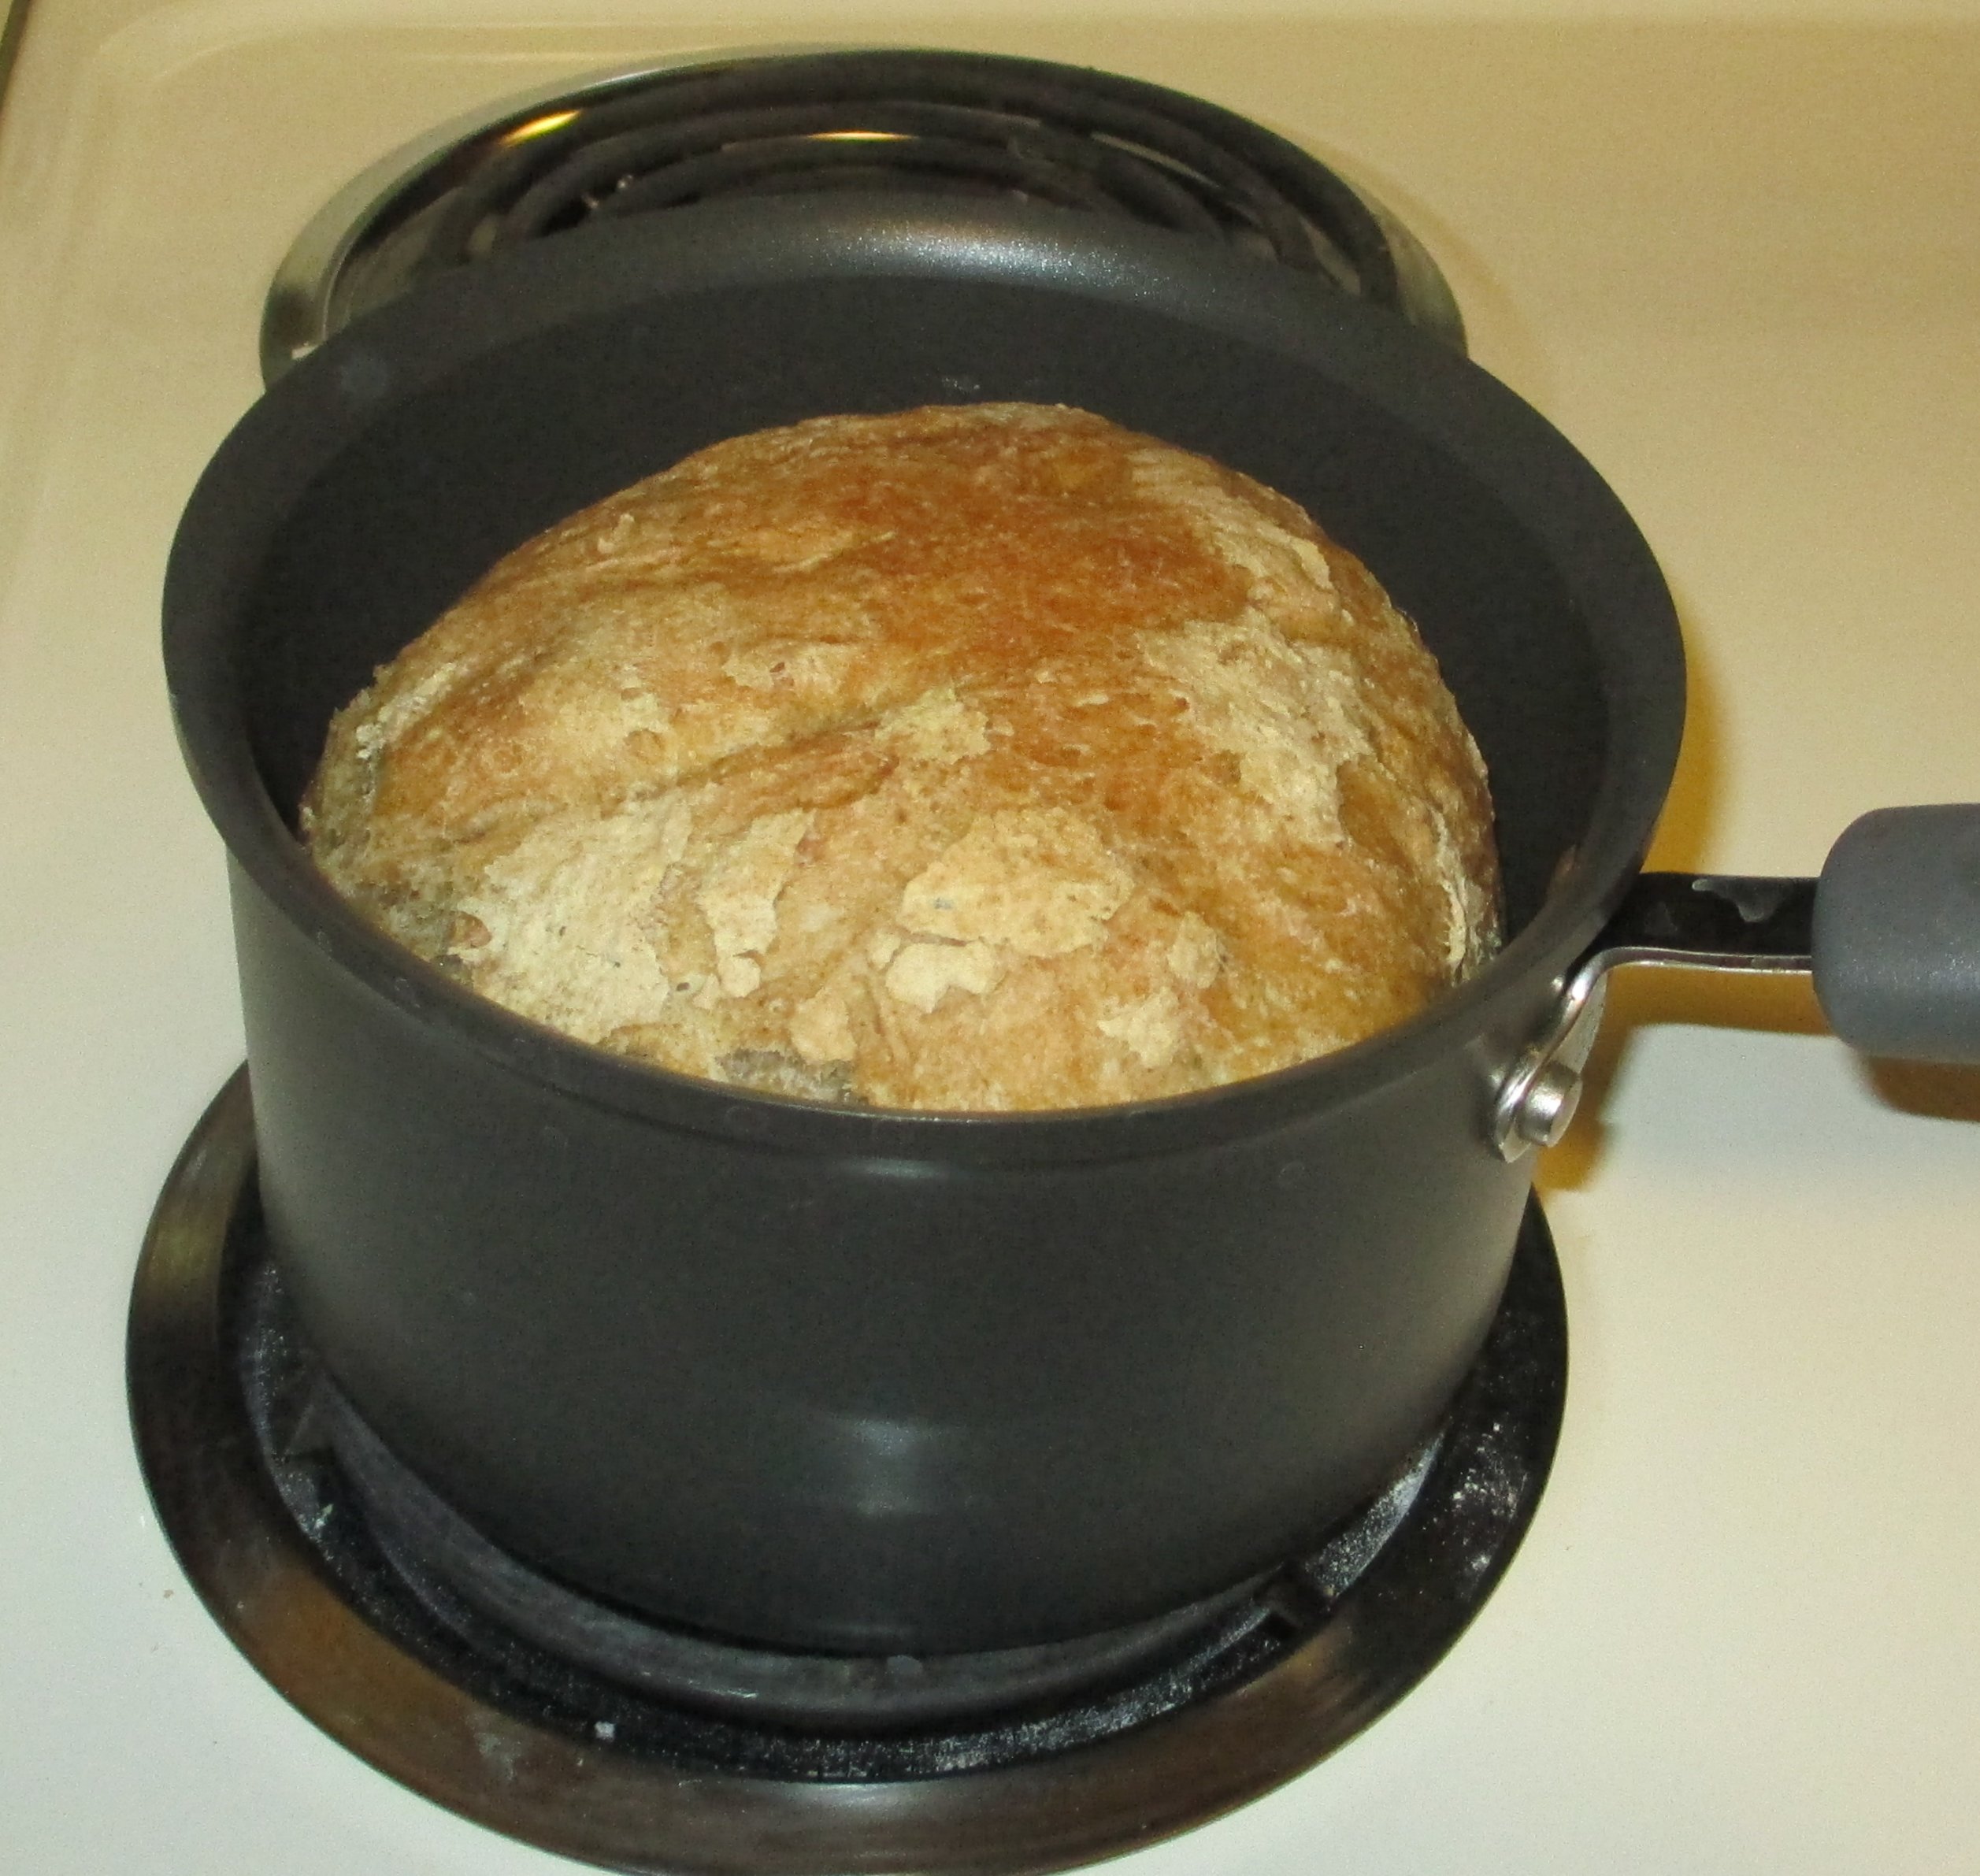
Remove from pot – it should pop out pretty easily – and let it cool on a cooling rack covered by a towel.
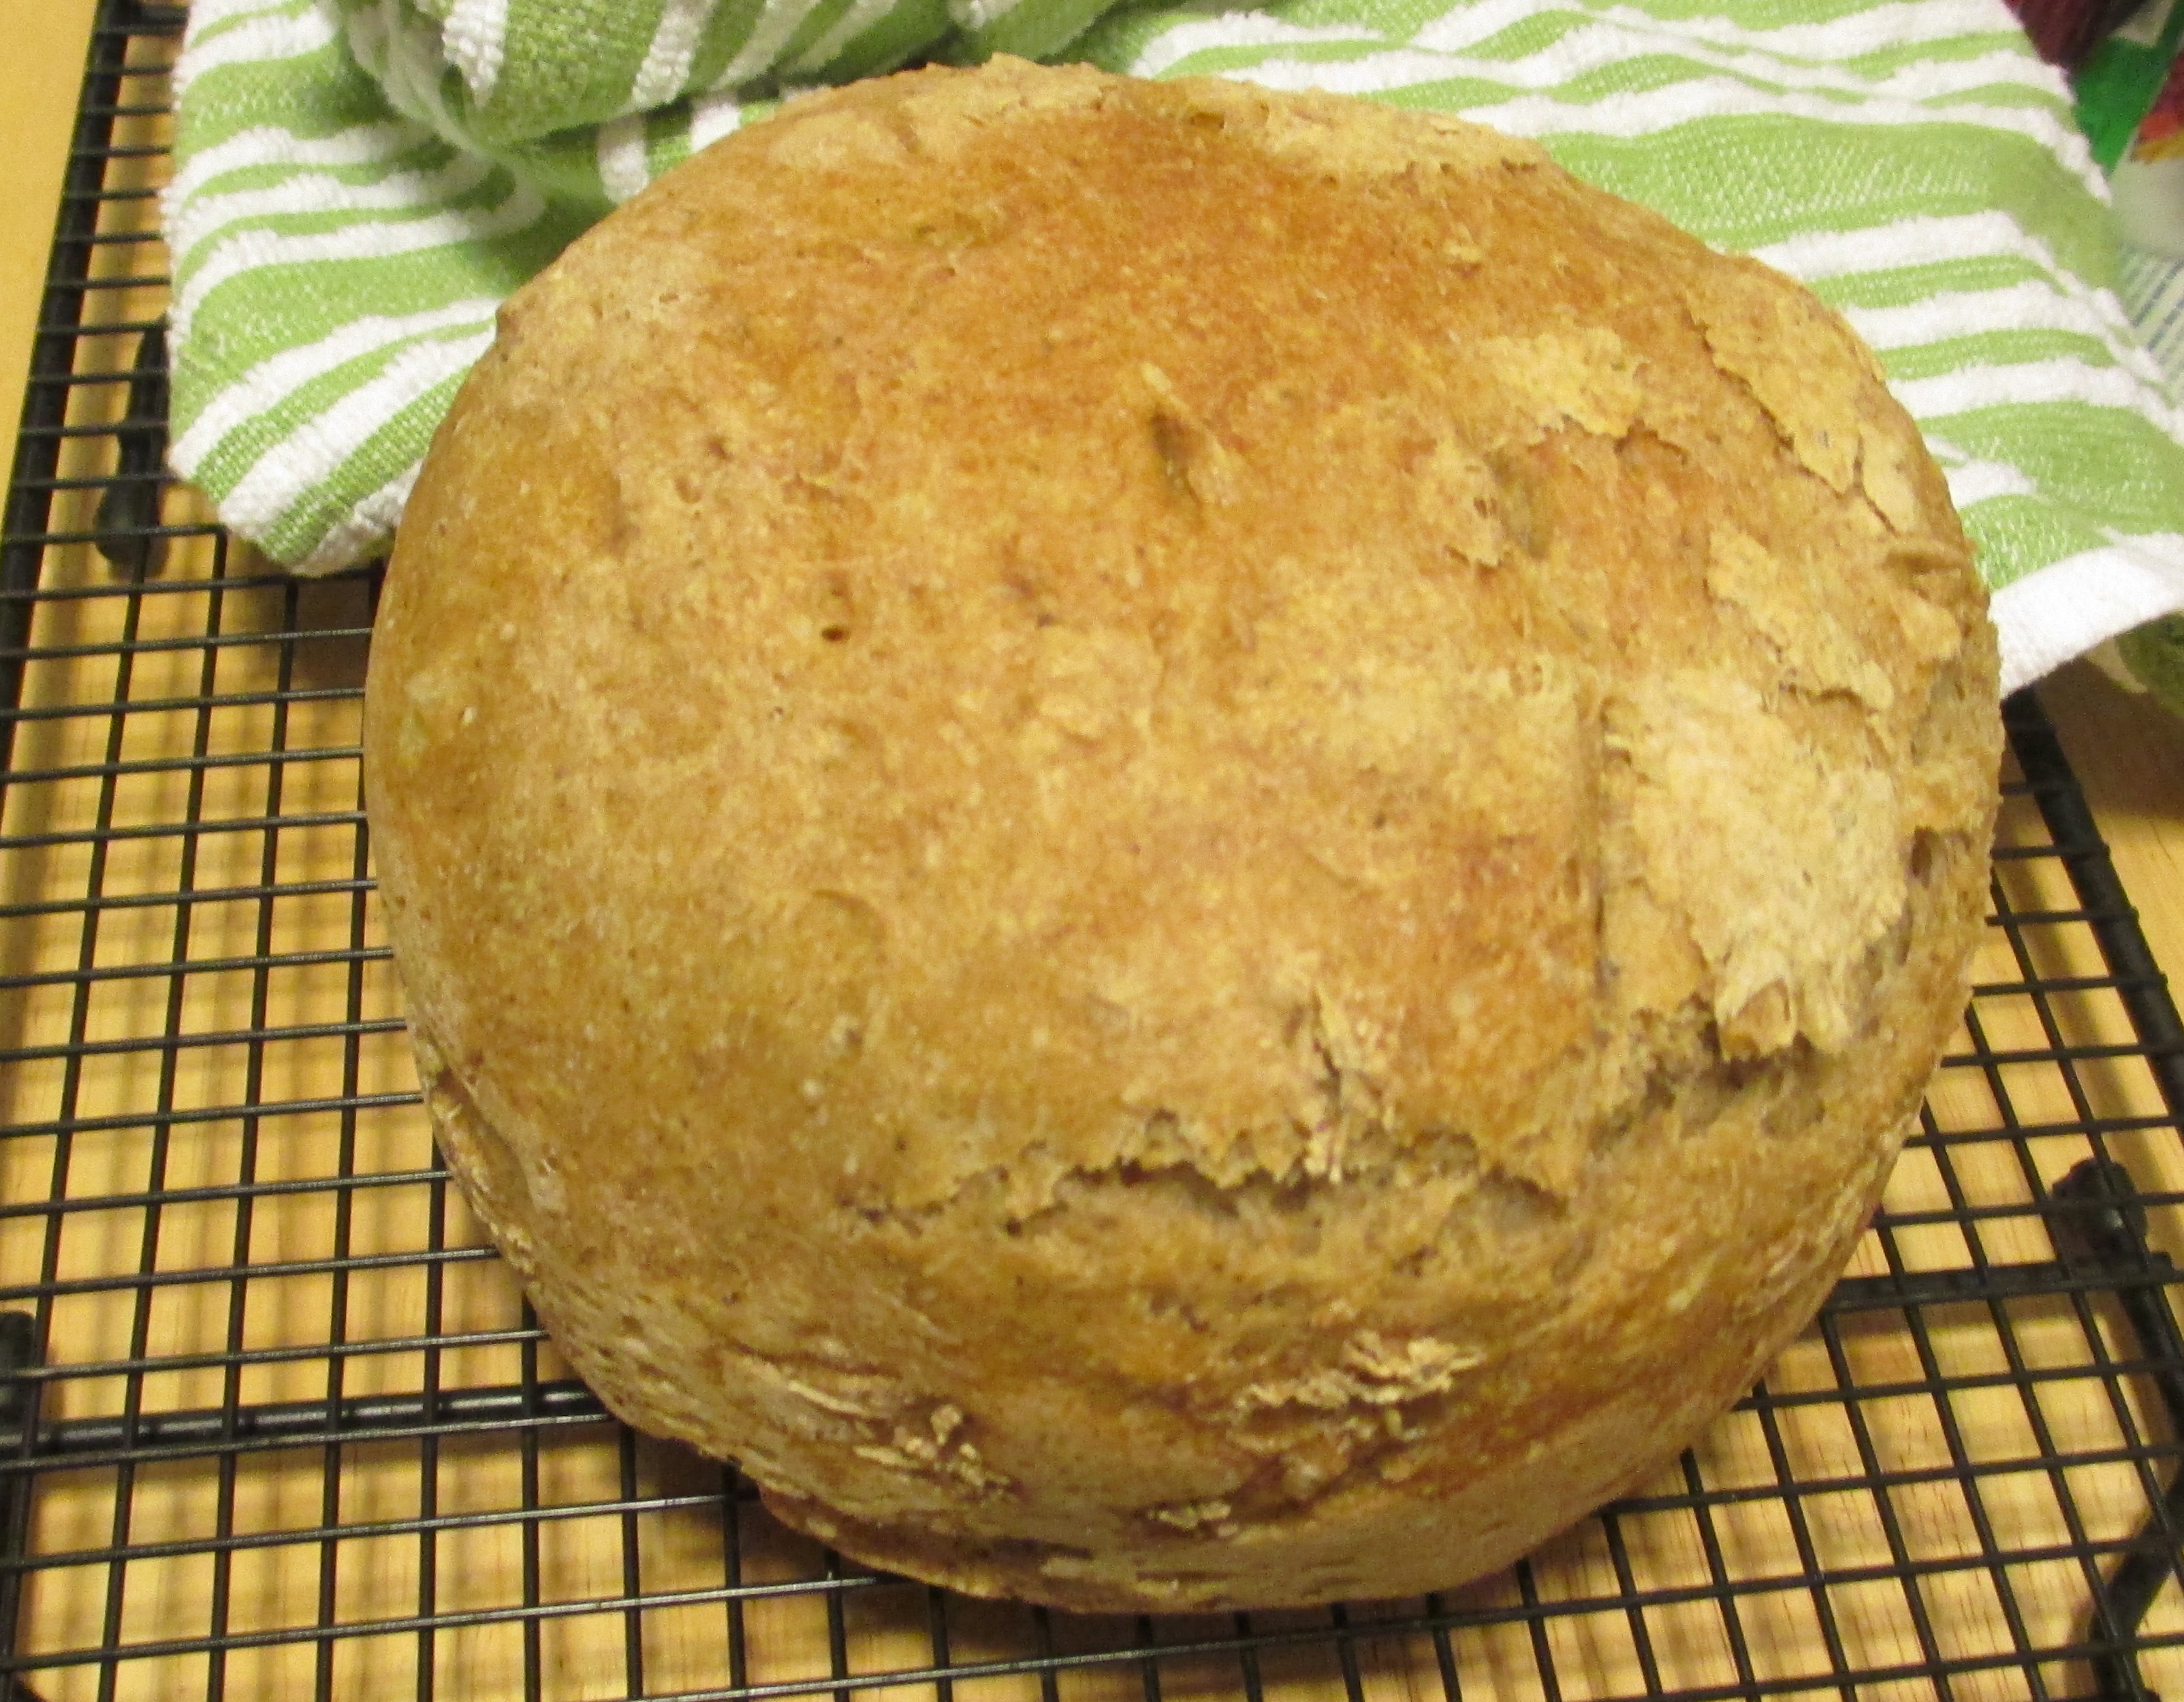
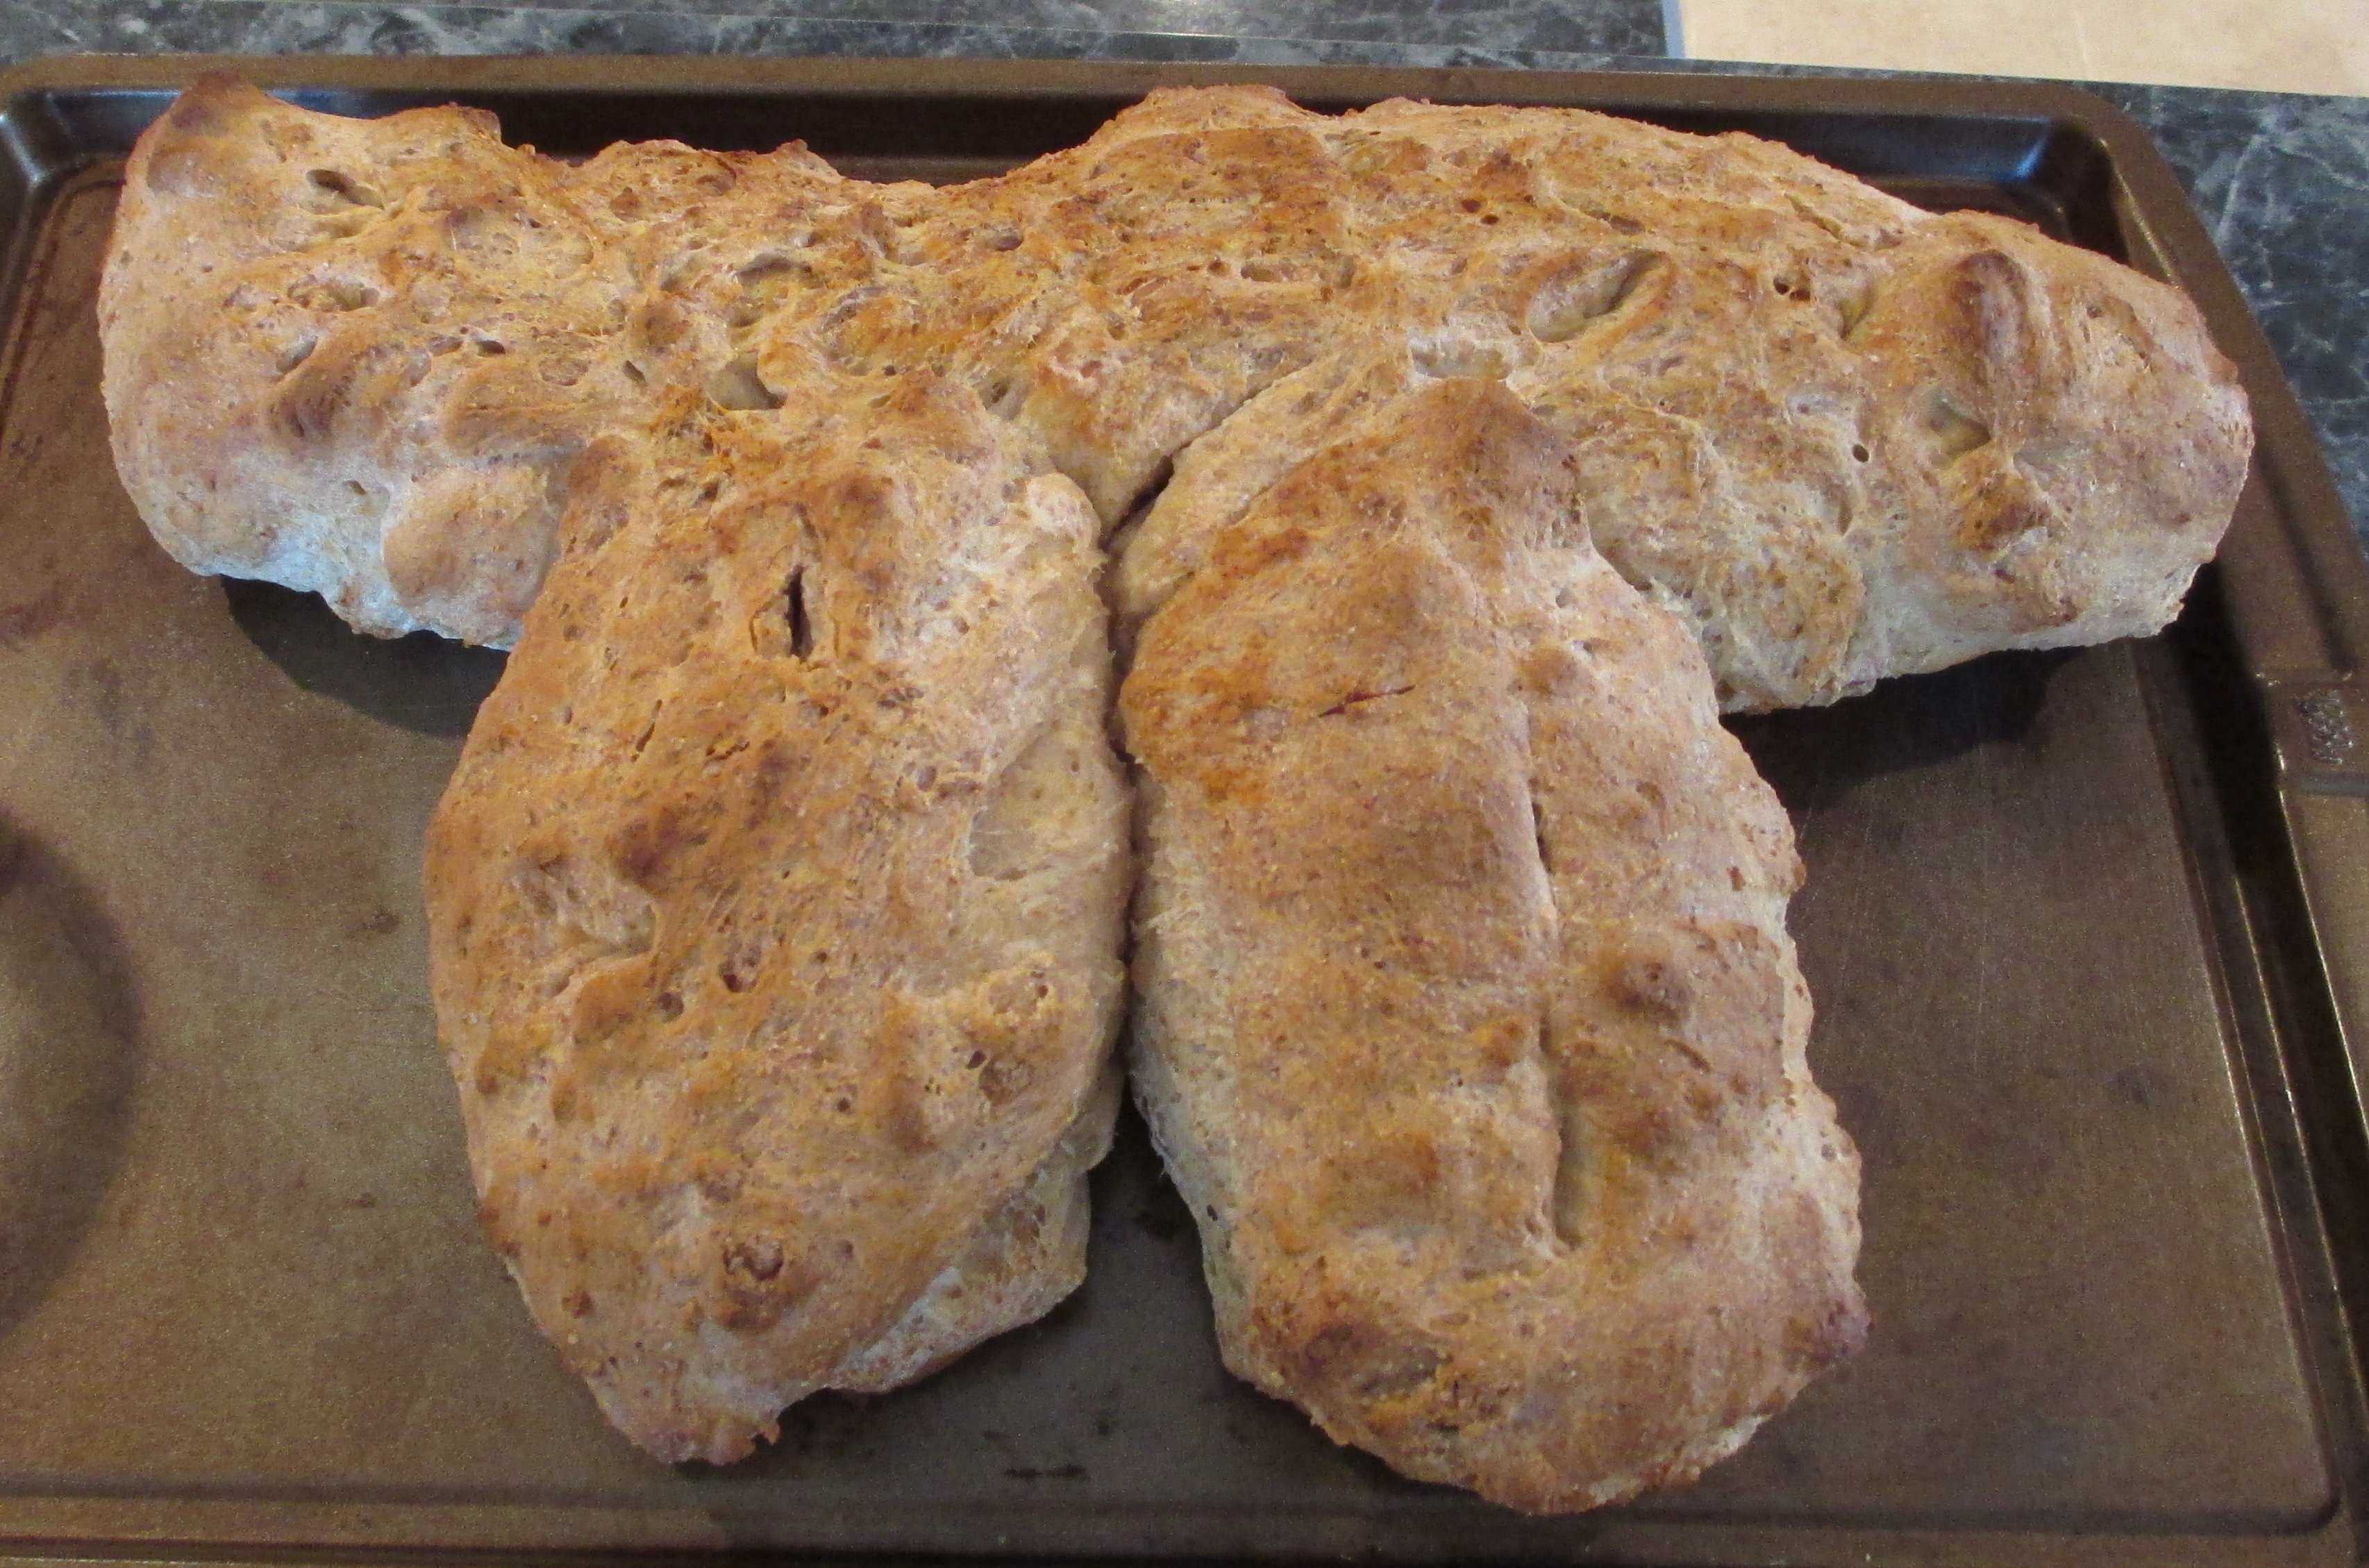
Congratulations! You just made bread!
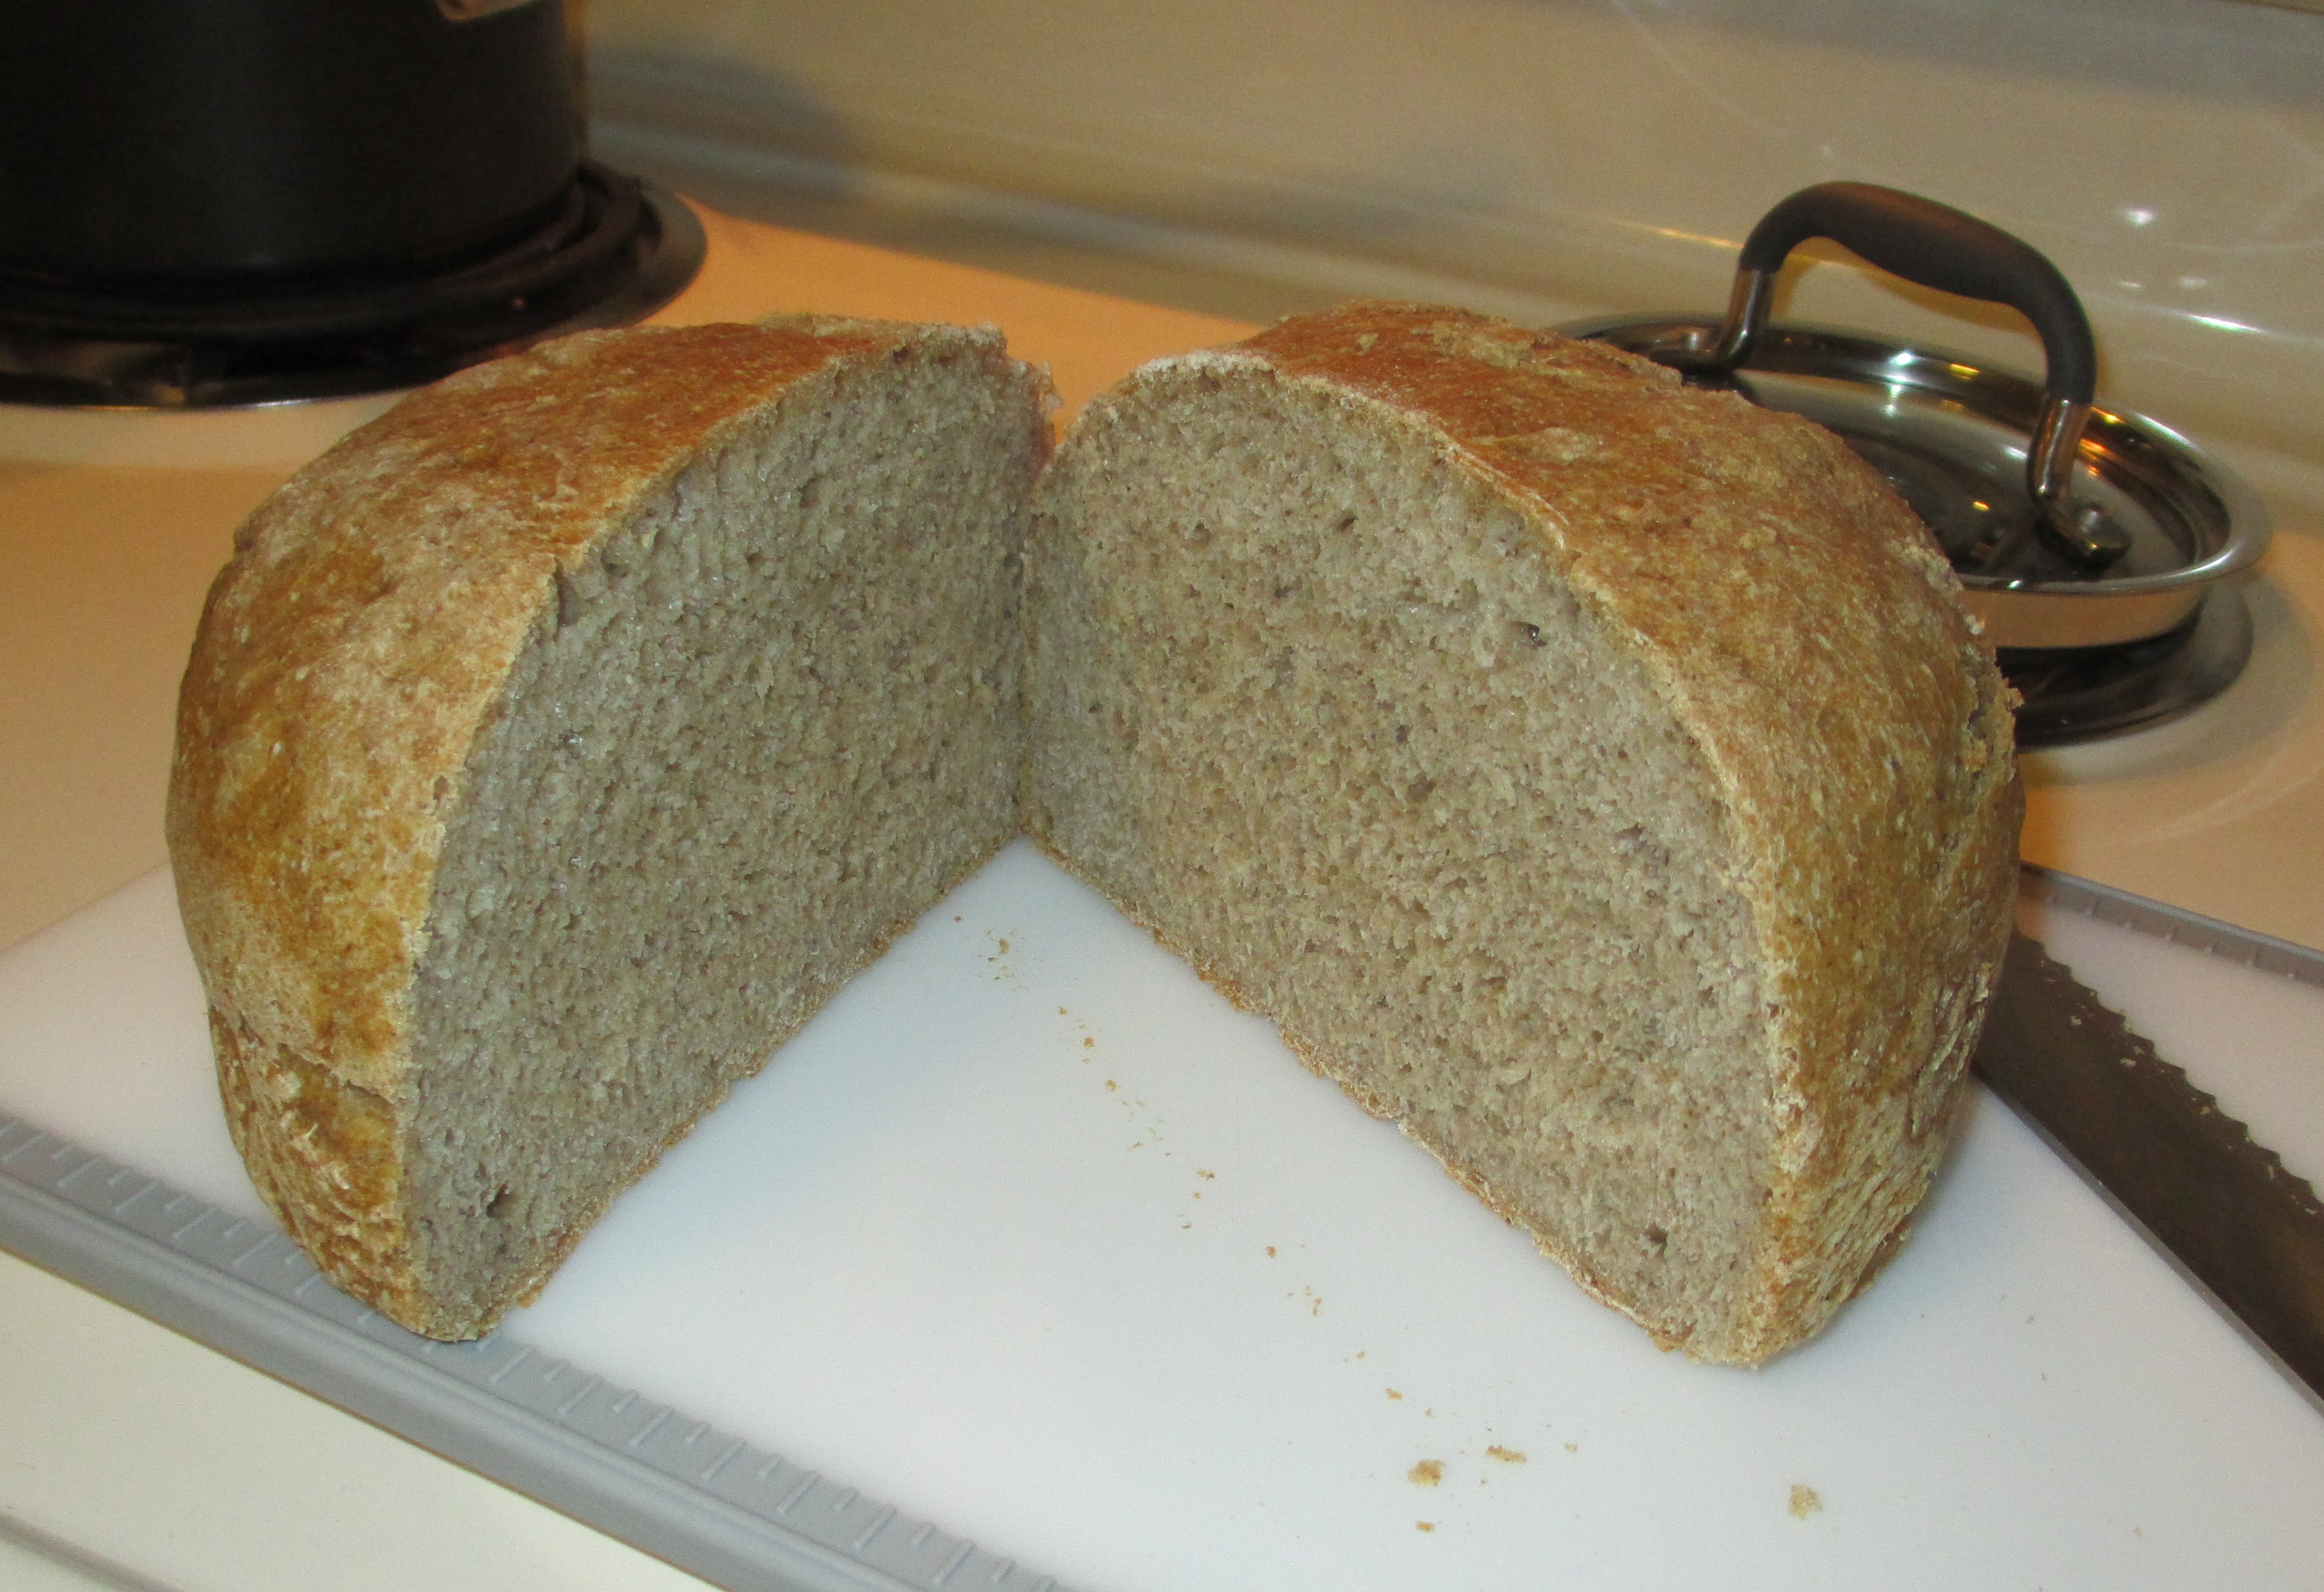
Bread
2/3 C Wheat Flour
2/3 C Bread Flour
2/3 C Almond Flour
1 C Unbleached White Flour
2 T Ground Chia seed
¼ t yeast
1/8 t salt
1 ½ C warm water (not boiling)
Mix all the dry ingredients together in a bowl.
Add the warm (NOT boiling!) water. Stir until all the flour is integrated.
Let sit for 8-14 hours.
Dump it into an oven-safe sauce pan (2qt size works well).
Let rise another 30min – 2 hours.
Preheat oven to 425 degrees. (Factor preheat time into the last rise time – leave the bread on top of the oven where it is nice and warm).
Bake 20 minutes.
Put lid on the pot, bake for 10 more minutes.
Remove from oven and remove from pot and let it cool on a cooling rack covered by a towel.


